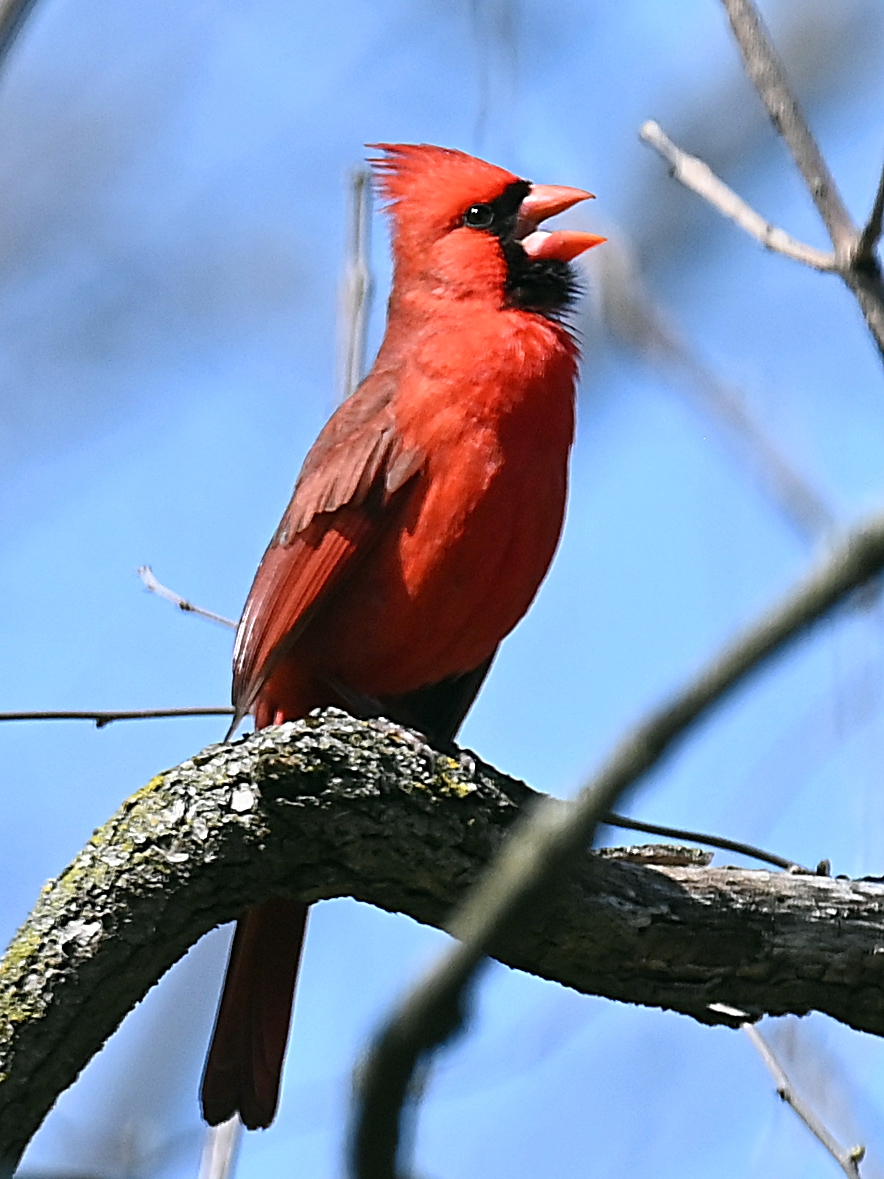
JamesD recently shared two images with us. His first picture of a Northern Cardinal is the original with lots of distracting branches, and the second is a cleaned up version. Here is the first picture; notice all the branches in every part of the frame.
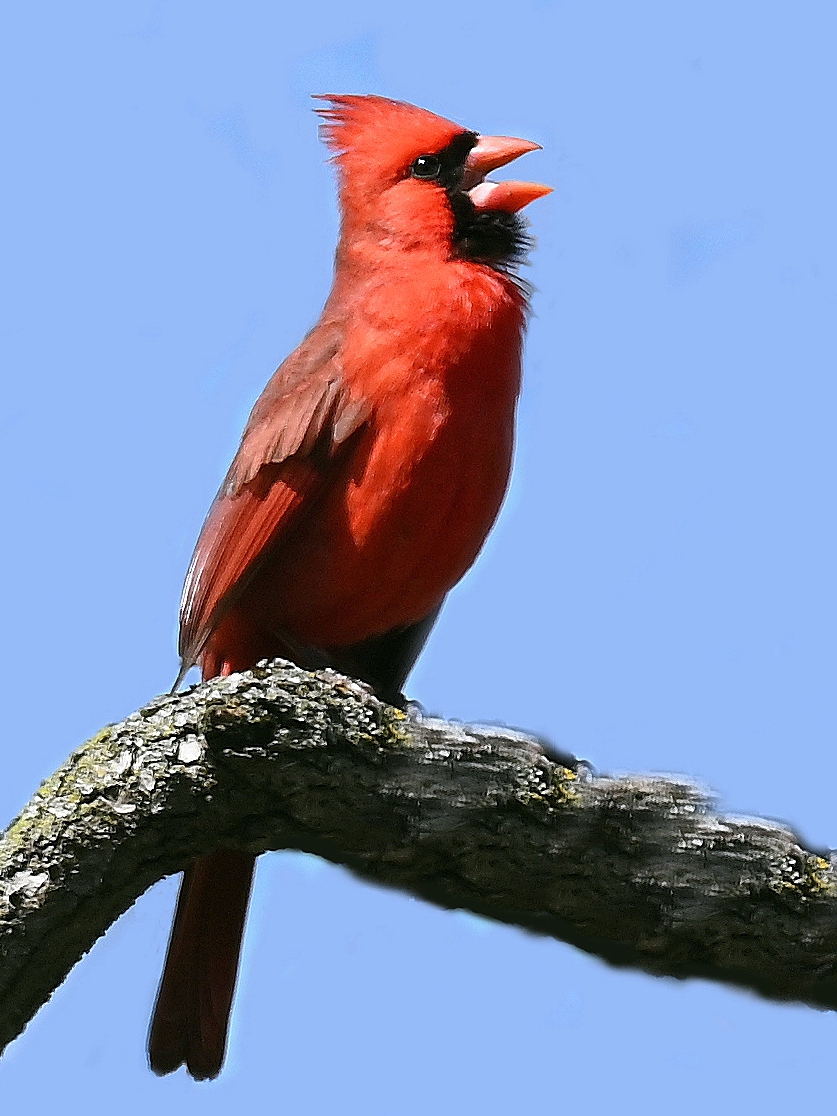
Here is the cleaned up version in which the only branch that remains is the one the bird is perched on.
I asked JamesD how he was able to remove all the branches and here’s his reply:
I used two very low budget programs. First, I used PhotoShop Elements (the cheap version of PhotoShop) to eliminate the majority of the branches by taking the paint brush to color right over the branches (first I used the eyedropper to select a blue that was already in the photo for the sky color). I varied the size of the eraser and brush as needed when I was working in tight areas.
I then used PhotoWorks from AMS Software to do the rest. If you shop around, you can buy (one time purchase, no monthly fee) PhotoWorks for just over $30. Its crop function lets you pick an aspect ratio for the cropped area. I used a 3:4 vertical crop. I used its clone function to replace the smaller branch that overlaps the bigger branch. I also color-corrected the dark reds and dark blues in PhotoWorks. I find that setting the dark reds and dark blues somewhere between 0 and 10 gets the color about right (you can also do this in PhotoShop Elements).
This is the first time I really tried to do this much editing. With more experience, I could probably do a better job on the remaining branch so that it doesn’t look as fuzzy on the edges. I played around with different techniques before I figured out this procedure and I think it took me less than an hour from start to finish.
He provided another image in which he use the same techniques to eliminate distracting objects.
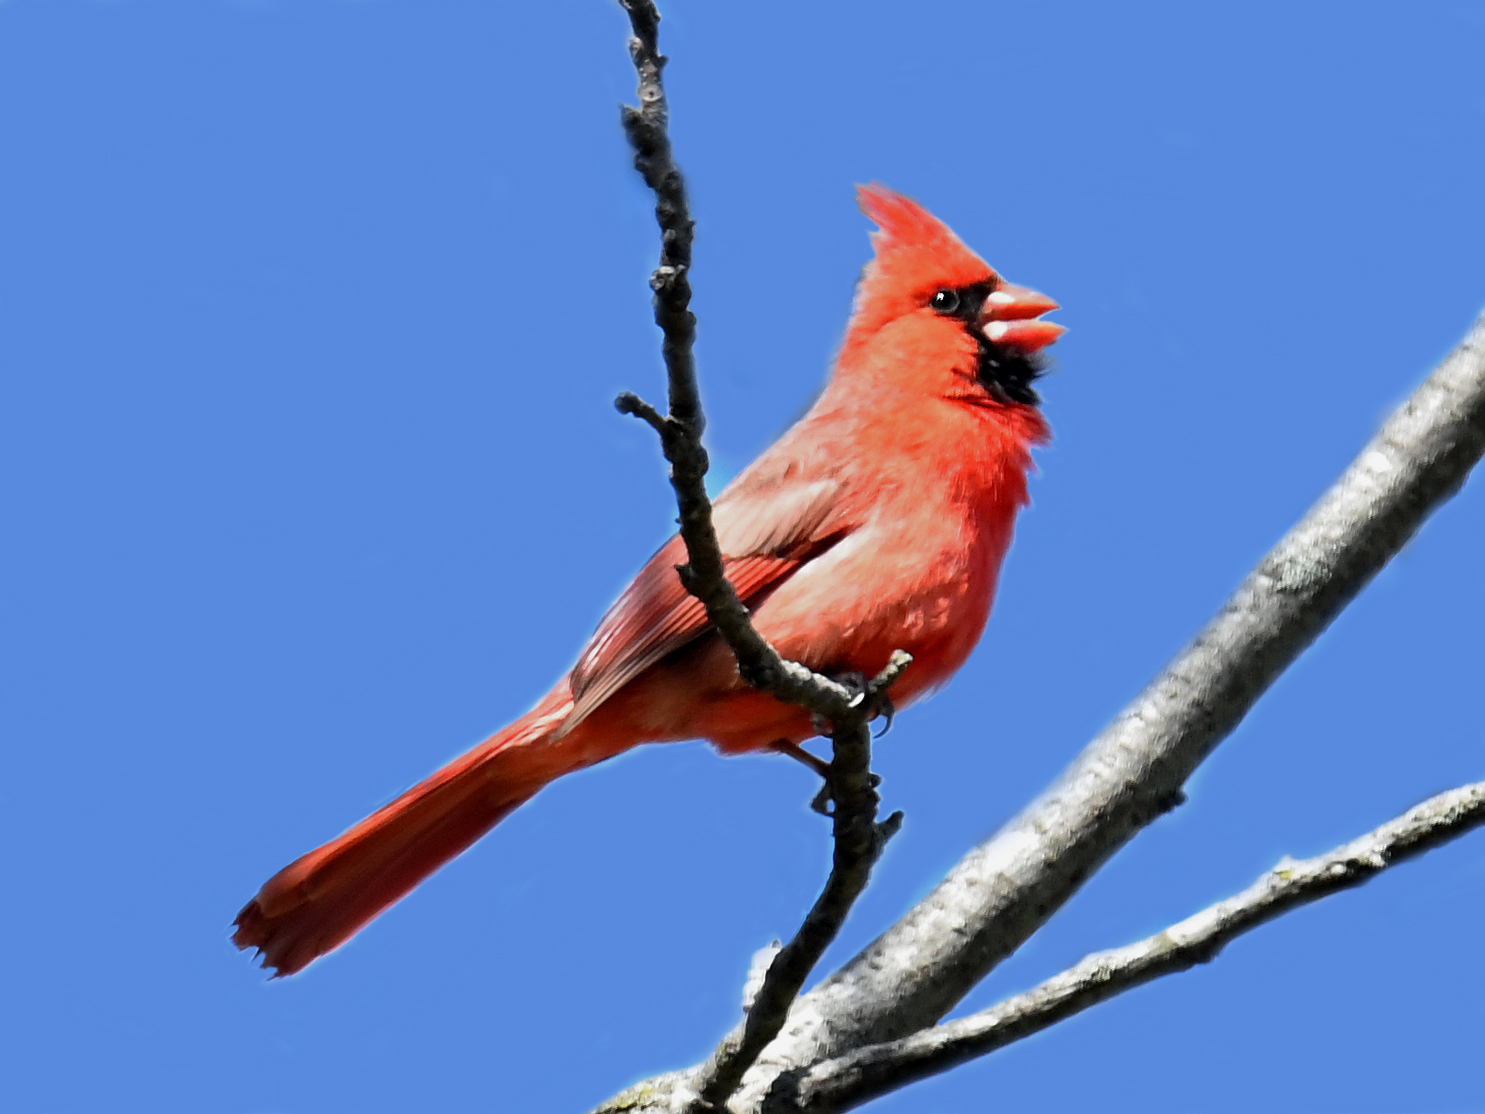
As you can see, there is quite a difference between the “before” and “after pictures. He did these as an example of what can be done – JamesD says himself that he wouldn’t submit an image that has been modified this much to a photo contest. However, for the purpose of learning how to make small modifications for our personal collection it was a great exercise for him.
A question for me is, where do you draw the line? How much of an image should be modified like this for the purposes of sharing on GreatBirdPics, Facebook, Flickr, or entering it in a photo contest? Another question I have is, is it worth the time spent? These subjects are something we’ll explore more in the future. In the mean time, many thanks to JamesD for sharing his images and process with us.
If you enjoy seeing beautiful pictures of birds from around the world and reading about them Click Here to sign up for our mailing list. Members can post their own GreatBirdPics and learn more about bird photography techniques.