The Angle of the Bird’s Head Makes A Difference in the Final Quality of a Bird Photograph
In this post we define and illustrate Component 8. Head Position of the QSAR (Bird Picture Quality Self-Assessment Rubric).
8. Head Position
When Image Quality Components such as Focus, Composition, and Lighting are good the head (particularly the eyes) of the bird is usually the most important part of a bird photograph to determine its overall quality. The head often contains important Field Marks which help identify the bird and can give the bird in the photograph some “personality’ rather than capturing an inanimate object. However, just including the head in a photograph is not sufficient to yield a high-quality image – the angle at which the head is captured becomes very important. Here is this Component from the QSAR:
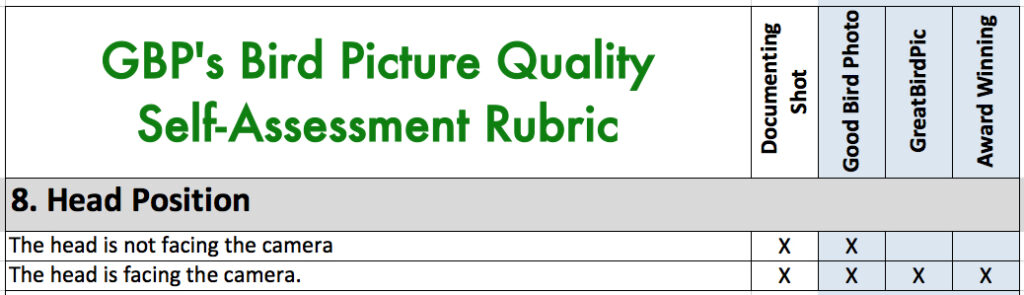
As you can see this is an “either/or” Component. Either you captured the bird’s head at a complimentary angle or you didn’t. Let’s go through the two Levels of Quality for Head Position with some example pics of the Four Types of Bird Photograph..
Level of Quality 1: The head is not facing the camera = Documenting Shot or Good Bird Photo
When we capture an image of a bird in which the bird’s head is turned away from the camera the resulting photograph does not engage the viewer. Depending on how much the head is turned away the end quality of the photograph will be a Documenting Shot or Good Bird Photo at best. A few examples will illustrate this point.
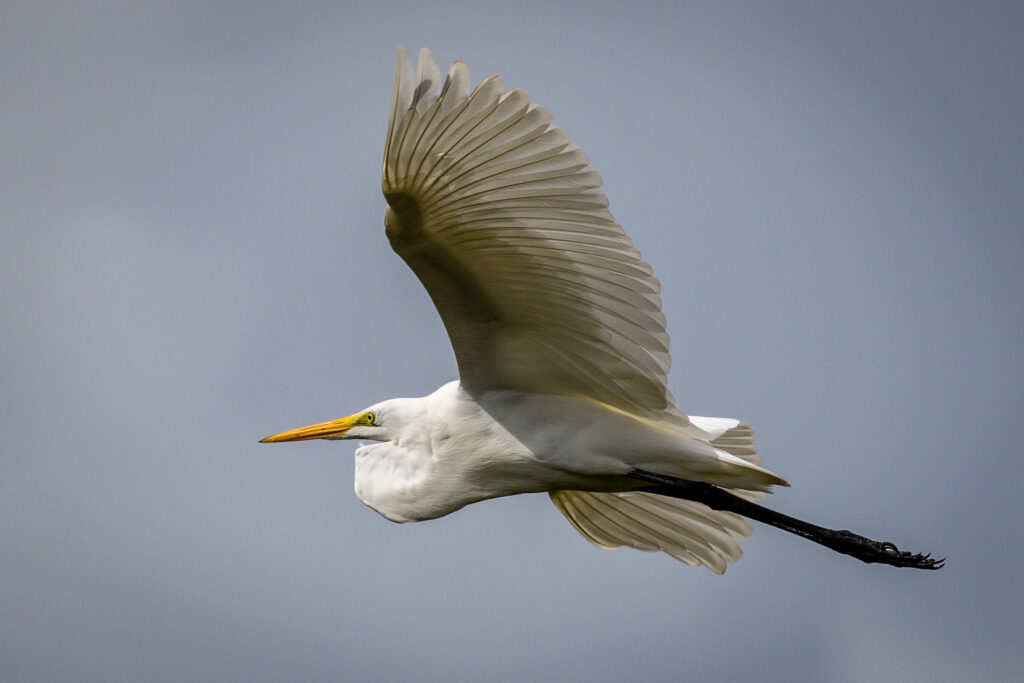
I love BIF (Bird in Flight) shots but sometimes I am slow at raising my camera and hitting the shutter button; bird has already flown past me by the time I start taking pictures. The resulting angle of the head usually shows it from behind. The viewer sees the bird moving away which lowers the amount of interest in and detail of the bird. Here is an example of a Great Egret as it flew past me. A Good Bird Shot at best.
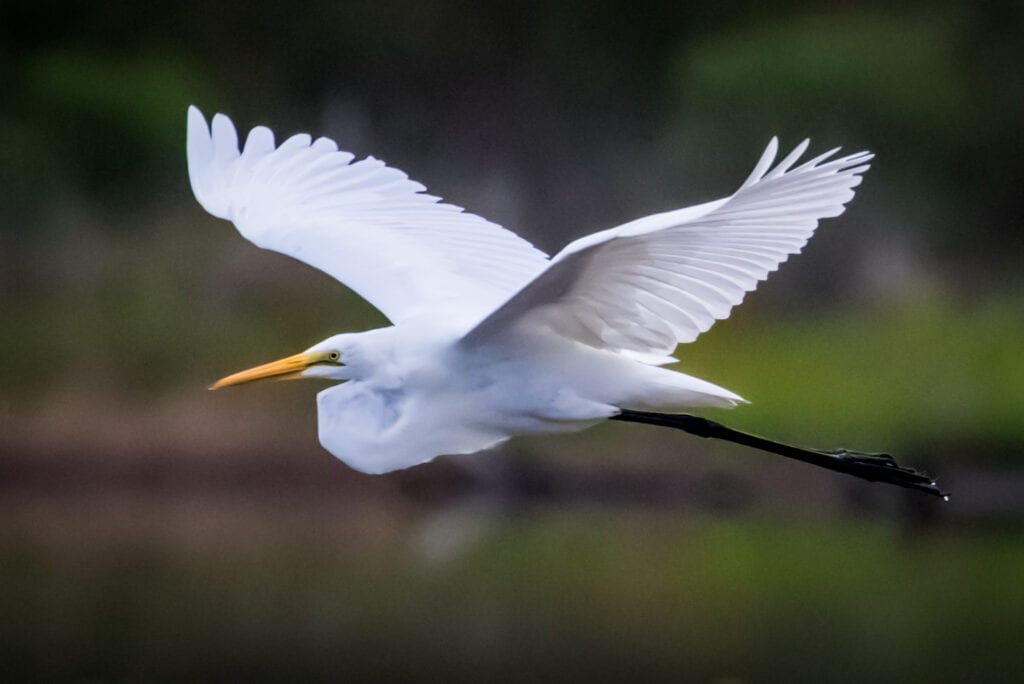
Now compare the next Great Egret photograph to the one above. You feel the bird flying toward you, generating interest.
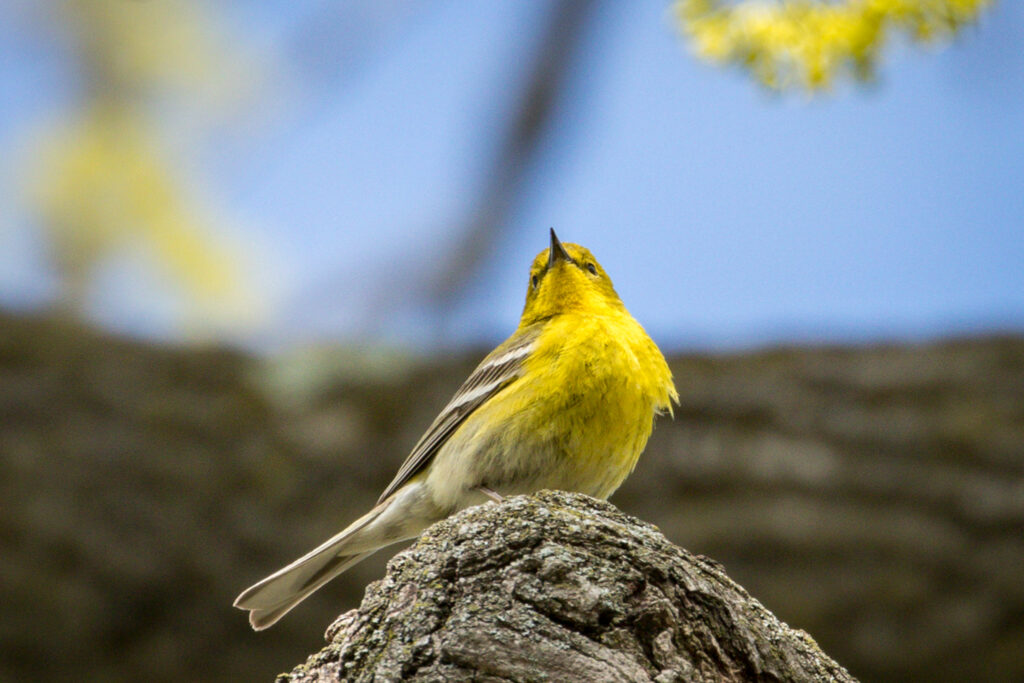
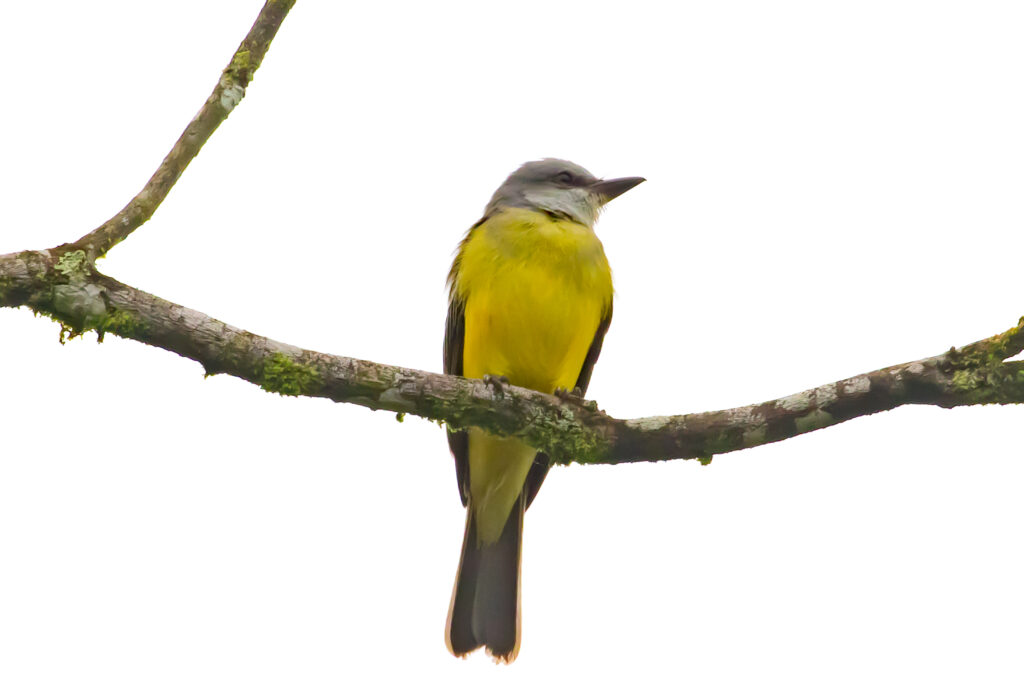
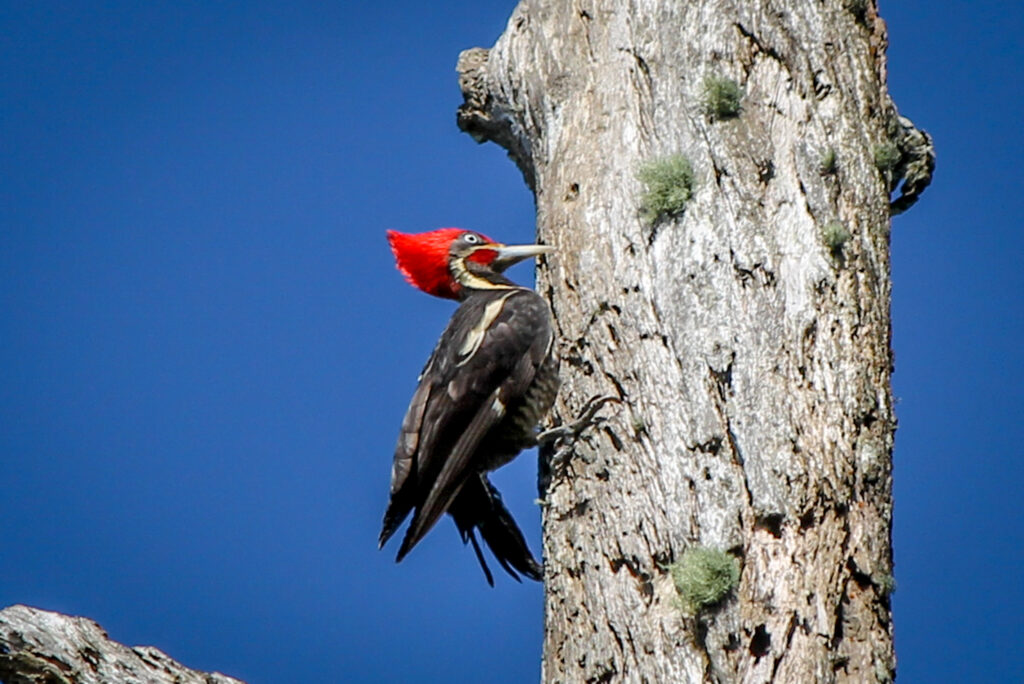
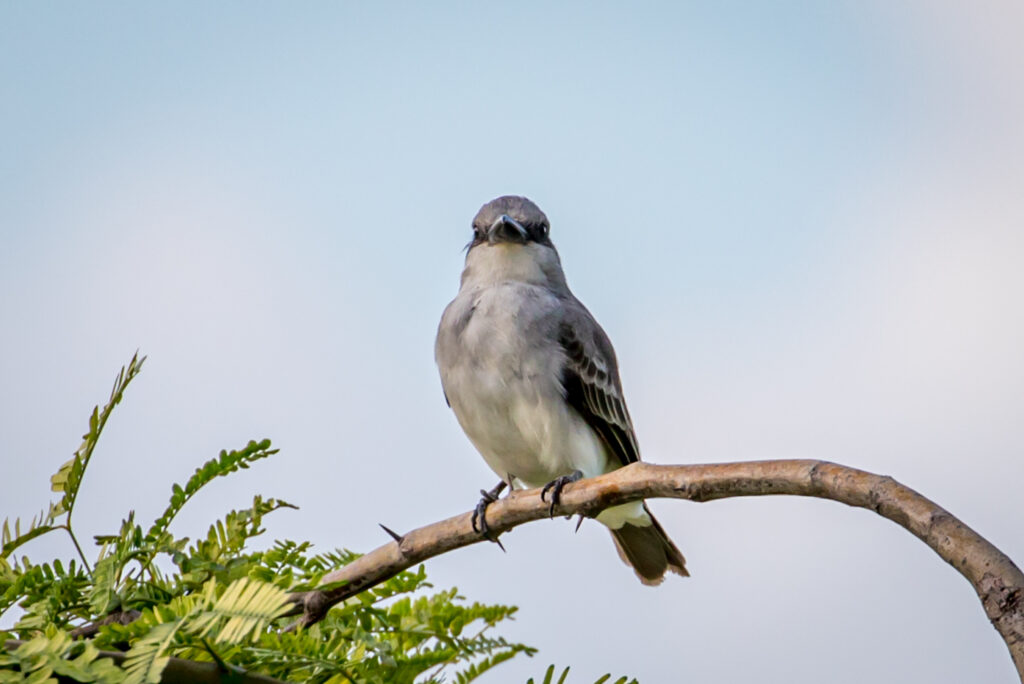
When a bird is perched high in a tree, even if the head is facing our direction, it is rare that the bird would be photographed looking down at the camera. Usually when we capture the bird from below we are looking up at the bottom of its beak and head. Again, this upward angle does not engage the viewer, in fact it gives the impression that the bird was farther away that it actually was. Our first example below is of a Pine Warbler high up in a tree, then below it a Tropical Kingbird, then a Lineated Woodpecker. All would be considered Good Bird Shot at best due to the upward angle.
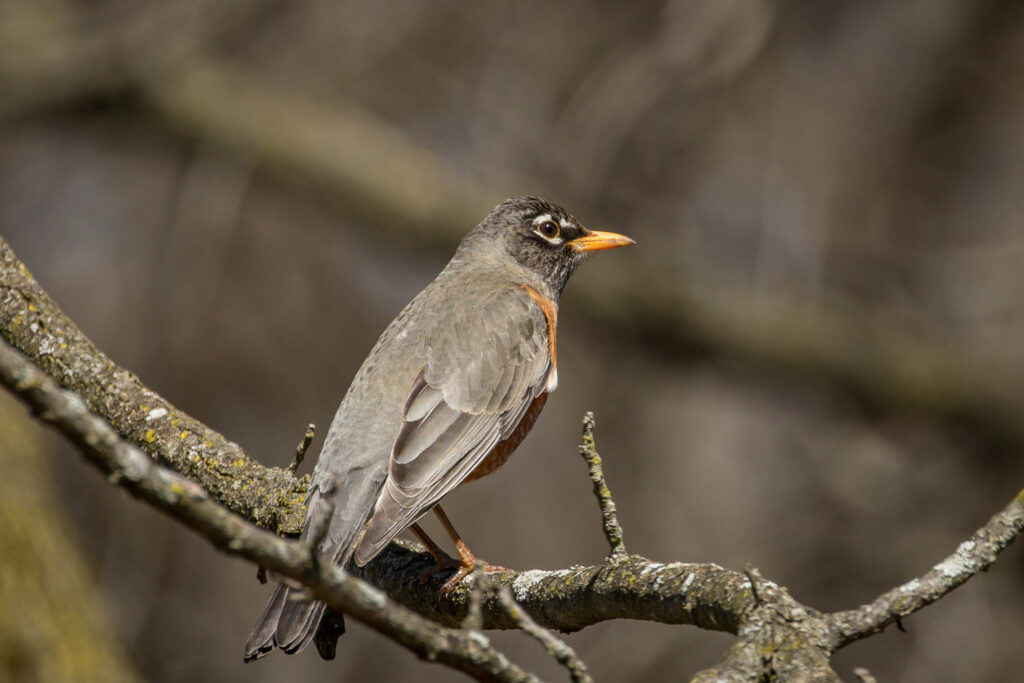
Even when you are at about the same height as the bird, the bird’s head could be facing away from the camera. While this may show some detail on the back of the head, the viewer is usually more interested in the face of the bird and this angle can obscure some Field Marks, resulting in a Good Bird Shot quality photograph. A Robin presented itself from behind with its head turned away from the camera – not a very interesting photograph.
Here’s a Wood Duck from behind, which makes it look like it is fleeing; this reduces the visibility of its beautiful head.
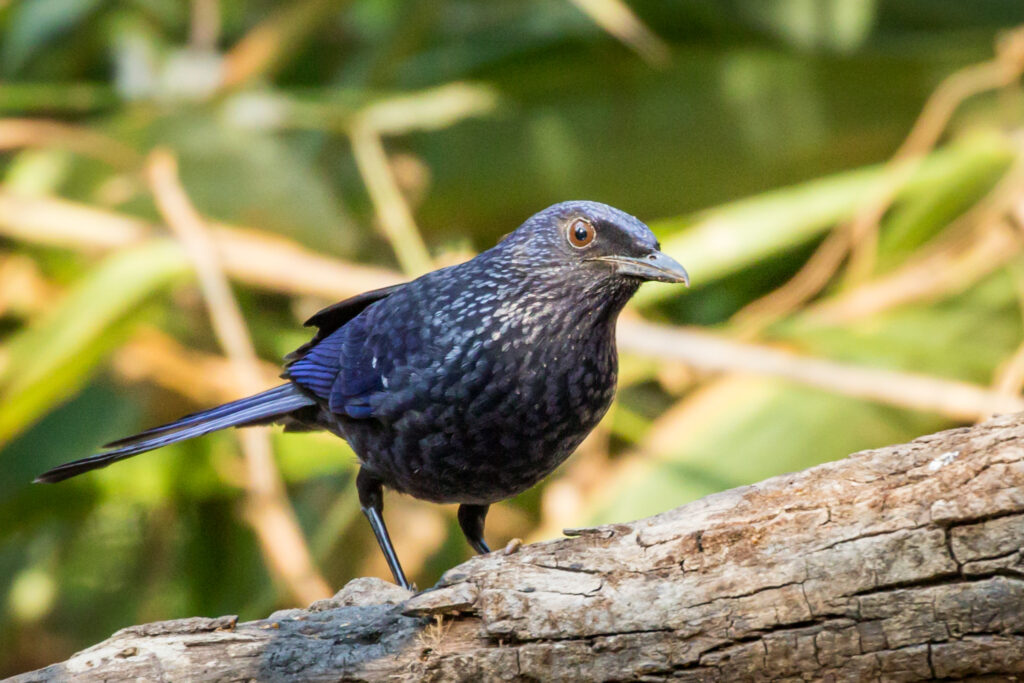
The last photograph to illustrate the reduced amount of interest generated when a bird’s head is turned away shows a Brown Creeper going up a tree. Even though we see most of the bird from the side the head is turned away – we can barely see the eyes, making it a rather uninteresting bird photograph.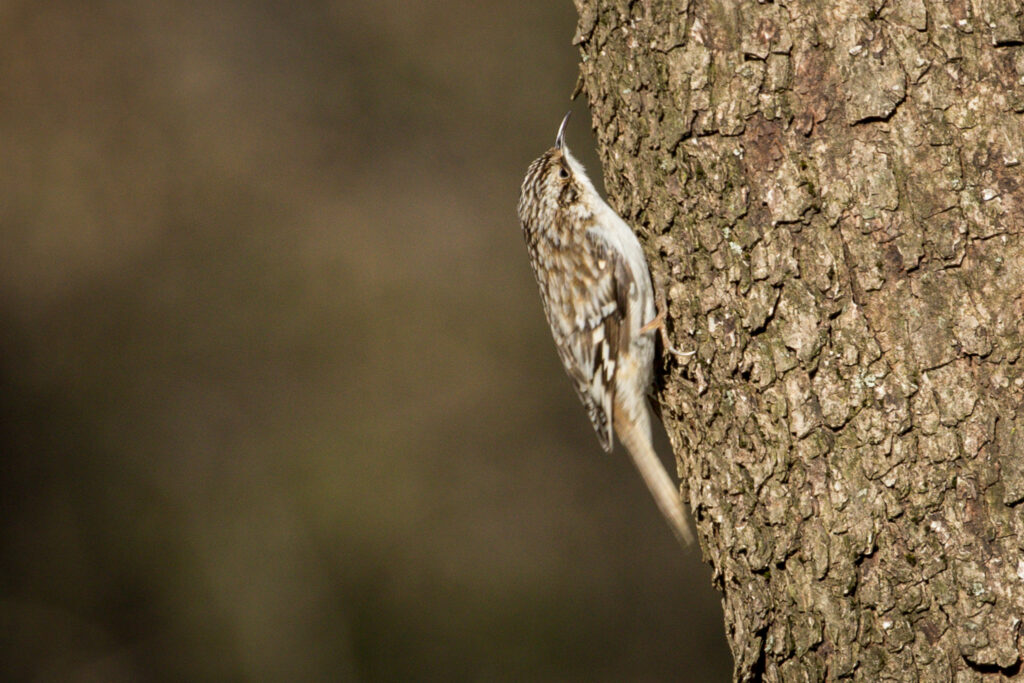
Level of Quality 2: The head is facing the camera = Documenting Shot, Good Bird Photo, GreatBirdPic, or Award Worthy
When the bird’s head is facing the camera we increase the quality of our photograph, but other Components such as Focus, Composition, and Lighting ultimately determine what the final quality of the bird photograph is. A key element of the head position are the eyes. The more prominently the eyes are displayed, the more interest the photograph garners, thereby increasing its quality. Let’s take a look at some examples of how the head affects the overall quality of the final product using mostly GreatBirdPic quality photographs (some Documenting Shot and Good Bird Photos have the bird’s head facing the camera but achieve those low marks in quality due to other factors such as Focus, Composition and Lighting.)
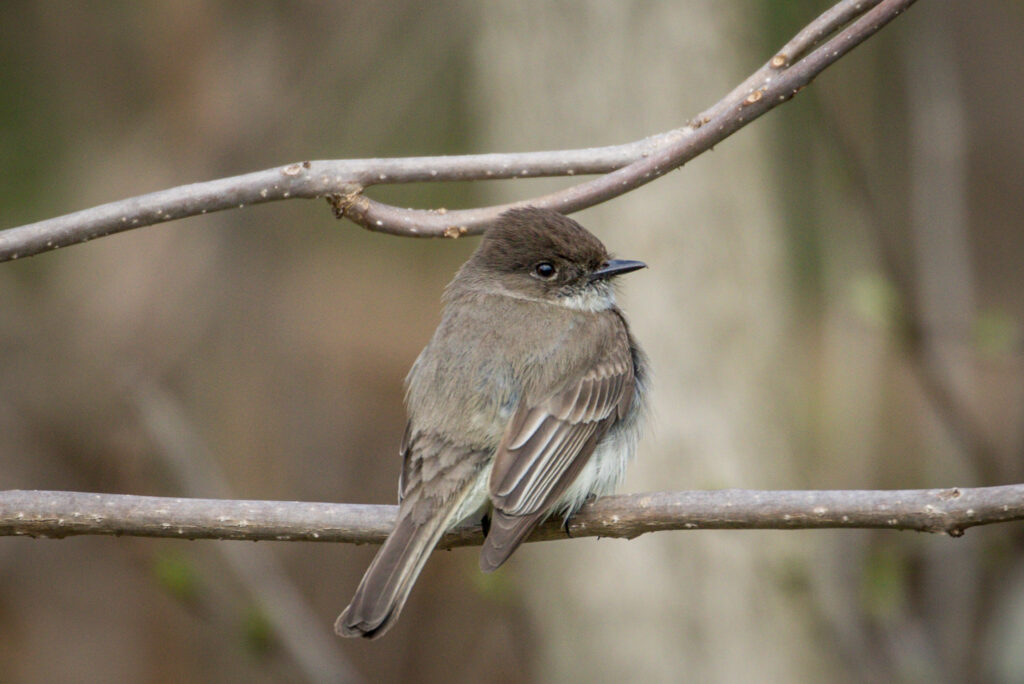
Take a look at the following two photographs of an Eastern Phoebe. The first one shows the head turned away from the camera and the second one captured the head when it was turned perpendicular to the camera. Just a slight change in the angle of the head made the second one more interesting – more of the head is visible so it engages the viewer more.

Our next example is of a Great Blue Heron with its head turned perpendicular to the camera. We get a nice view of all its features and Field Marks and with the eye facing the camera the viewer becomes more engaged with the picture. Had the head been turned any farther away from the camera the resulting photograph would have been judged a Good Bird Shot, but as it is, a GreatBirdPic.

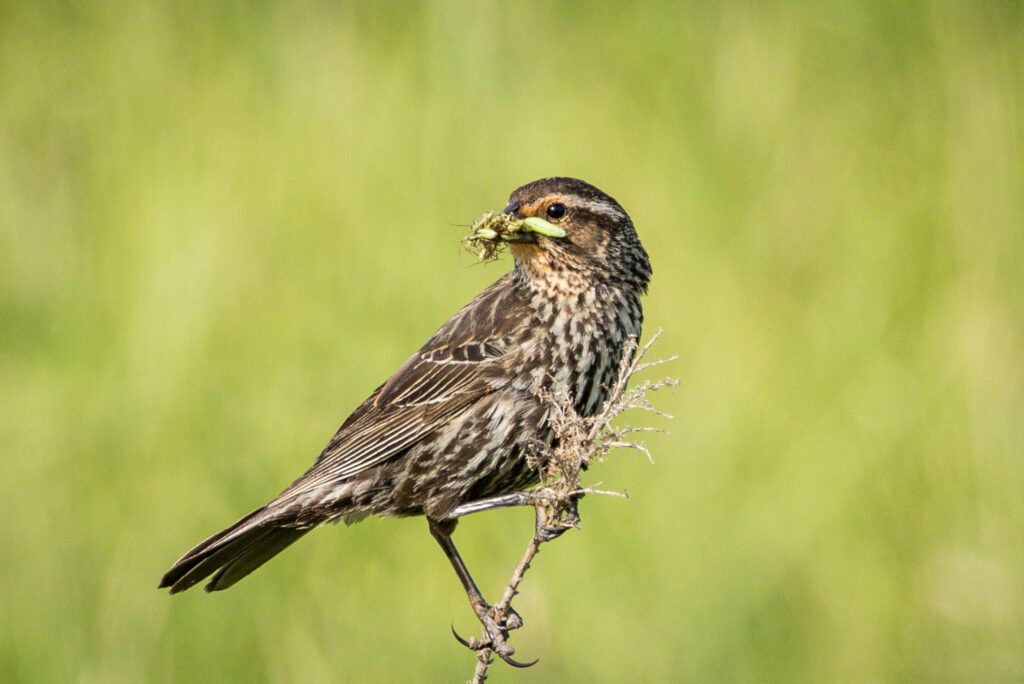
As the angle of the head is reduced from 90º (perpendicular to the camera) to about 30º we get excellent looks at all the features on the bird’s head; often with good looks of the bird’s eye, too. First we see a female Red-winged Blackbird with some food for her nest, her head at about 45°.
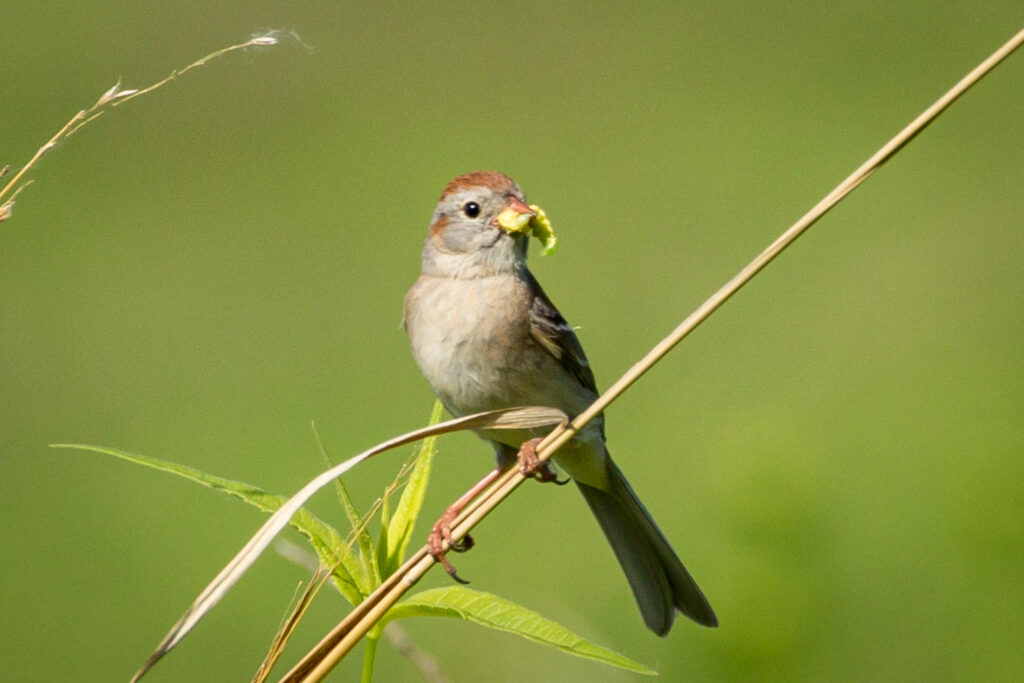
Similarly we see a Field Sparrow with a juicy worm, its head cocked at just the right angle (about 45°) to show off the Field Marks on its head.
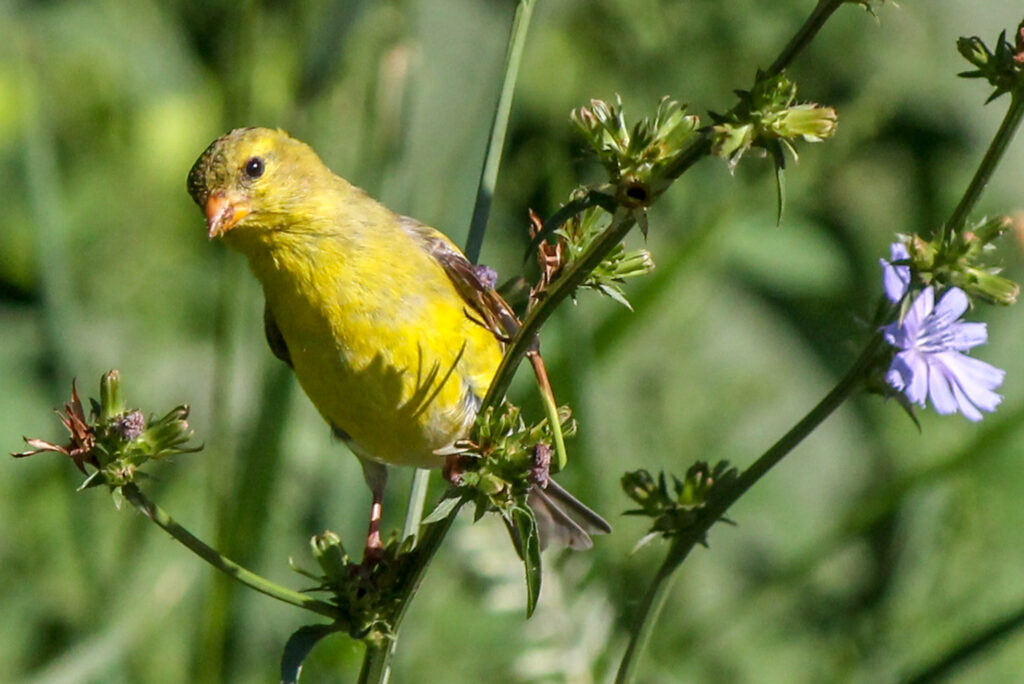
This Goldfinch is leaning at just the right angle to have the sun shine along the side of its head, providing a full view.
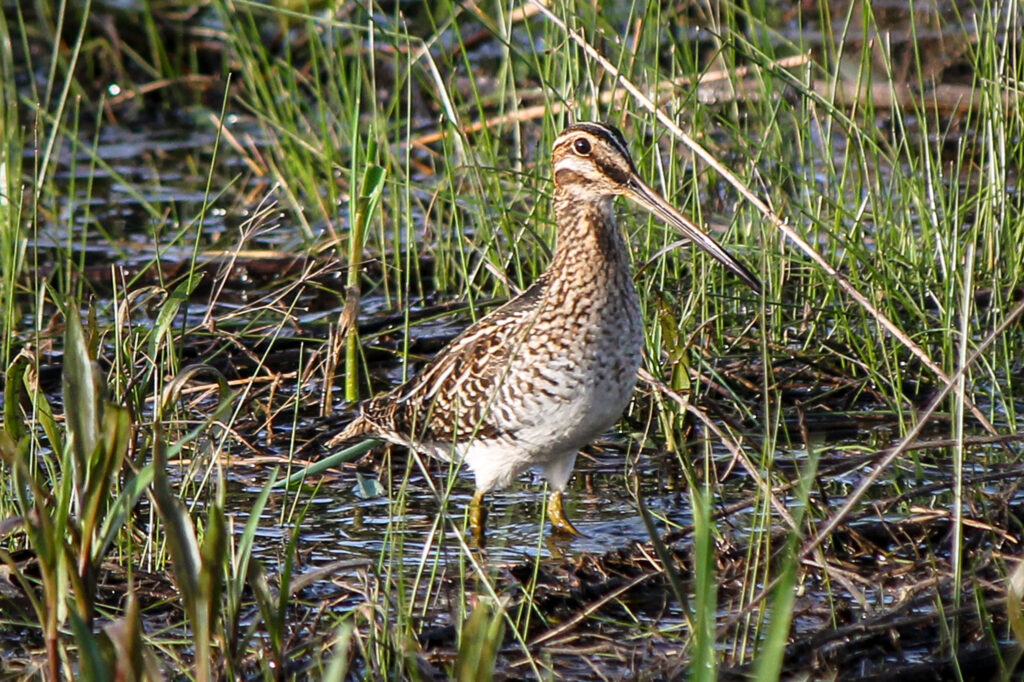
This Wilson’s Snipe has its head at a 45° angle, presenting its long beak at a good angle to appreciate the length of it and giving us a great look at the eye.
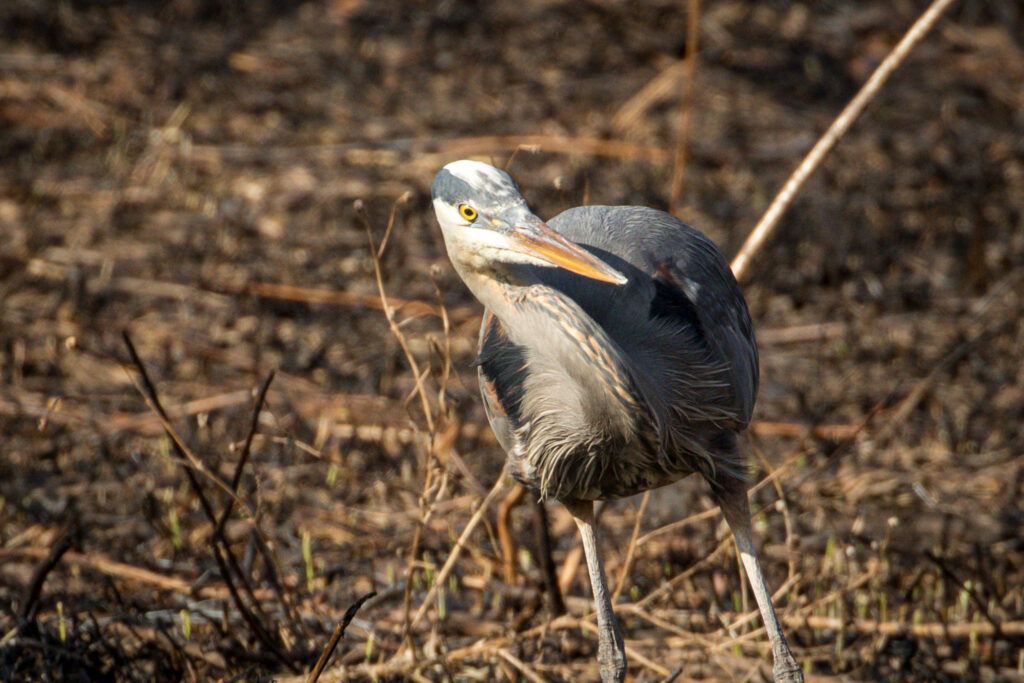
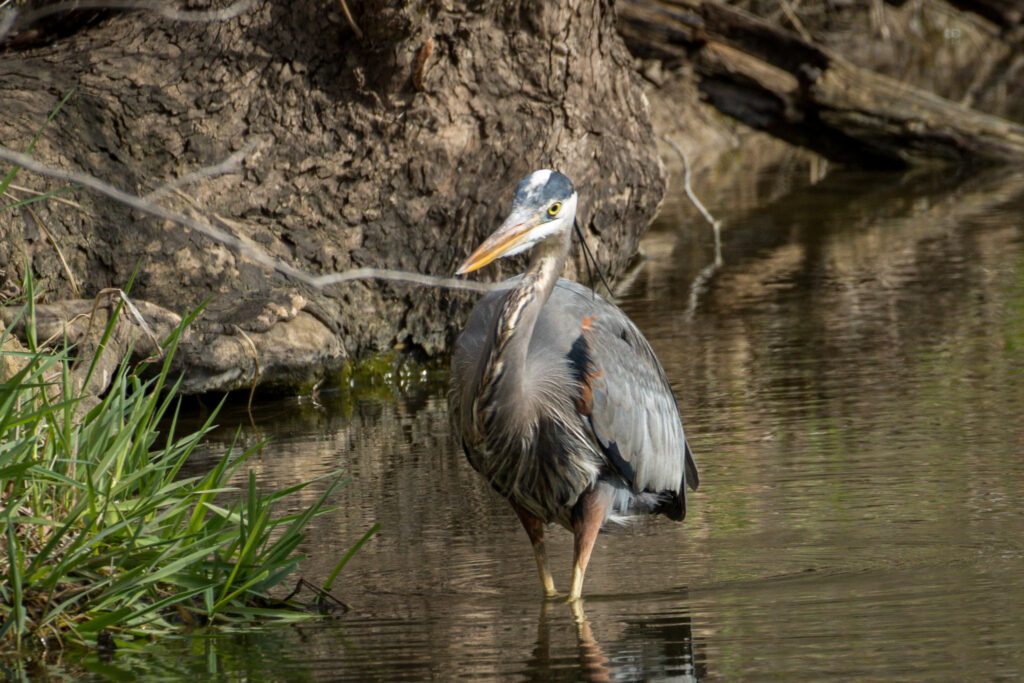
As the angle of the head continues to move toward the camera from about 30º to 0º (facing straight at the camera) we begin to lose some of the detail in the head and eyes. We can still get a pretty good shot, but the head looks narrower the smaller the angle, as demonstrated in these two Great Blue Heron Pictures. As the angle decreases, the amount of the head seen also decreases.
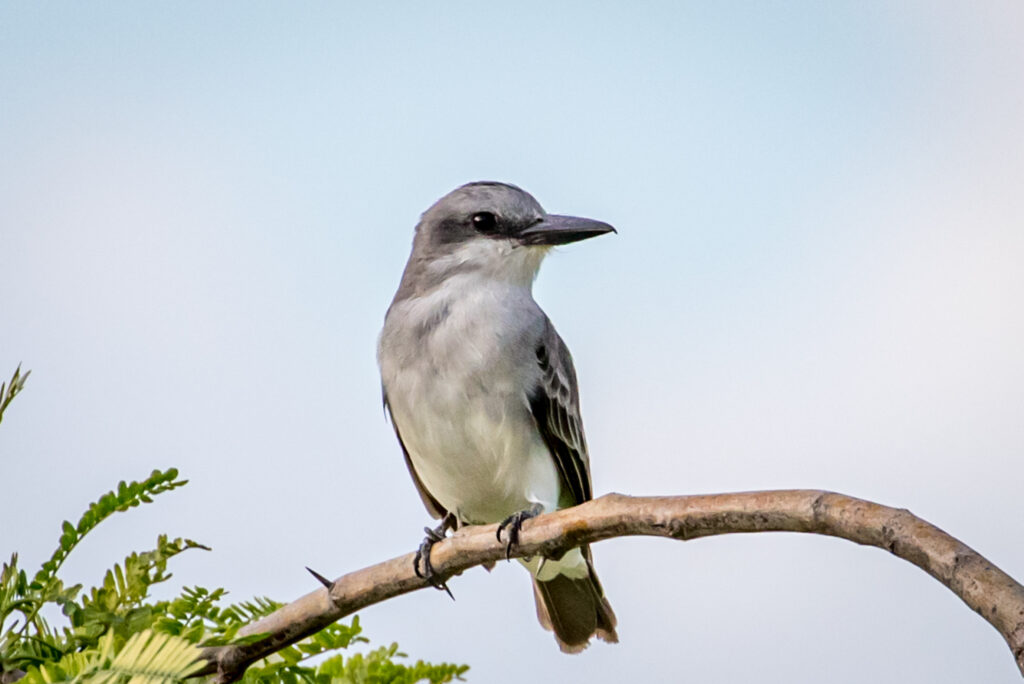
I used to think that when the bird was looking right at the camera (0º angle) I would get some great shots, but in fact I was often disappointed in the result. When the bird is looking straight into the camera we lose almost all the detail of the beak and much of the detail on the sides of the head and neck. Some birds look so different from this angle you can hardly recognize them! Take this Gray Kingbird photographed in Aruba; the first photograph is straight-on and we hardly get any detail in its beak or face, yet a second later the bird turned its head giving us a much better look at its Field Marks (particularly the size of its beak).
Here is a Palm Warbler looking right at the camera. Again we lose some of the detail in the head from this angle.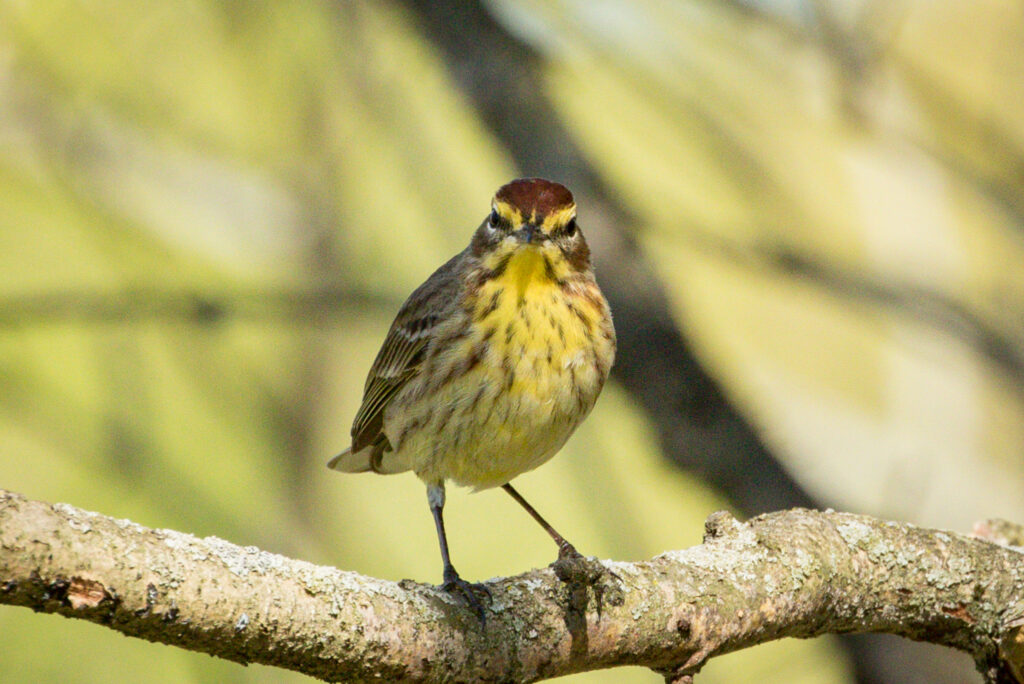
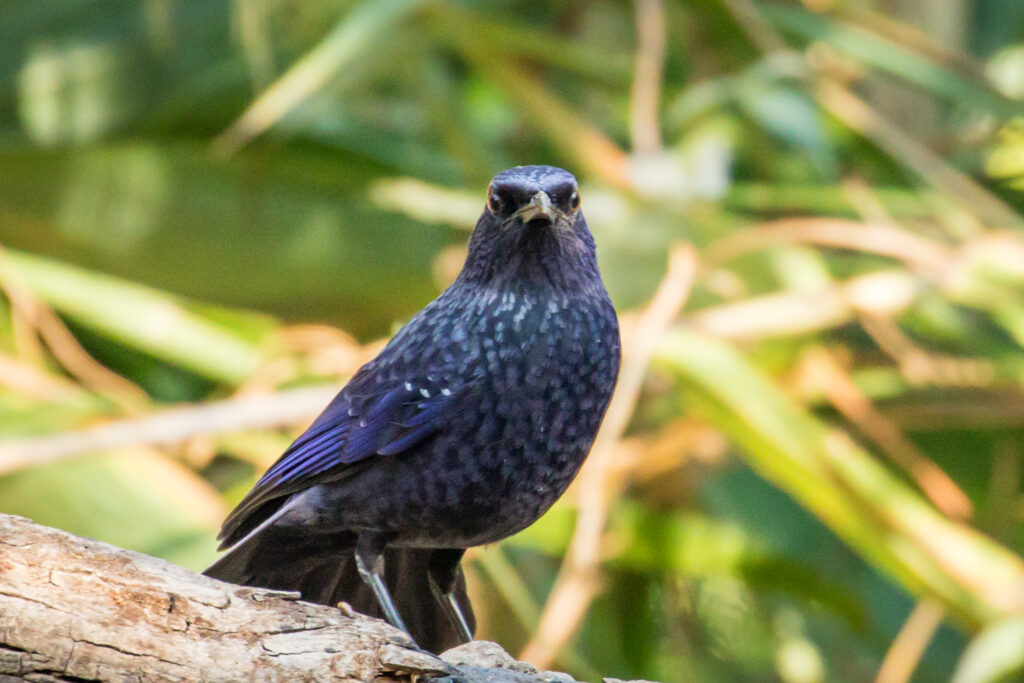
Next are two pictures of a Blue Whistling-Thrush in Thailand. The first is straight-on but compare the beak and the eyes to the next one in which the bird tilted its head away from the camera, giving a much better look at its eyes and head.
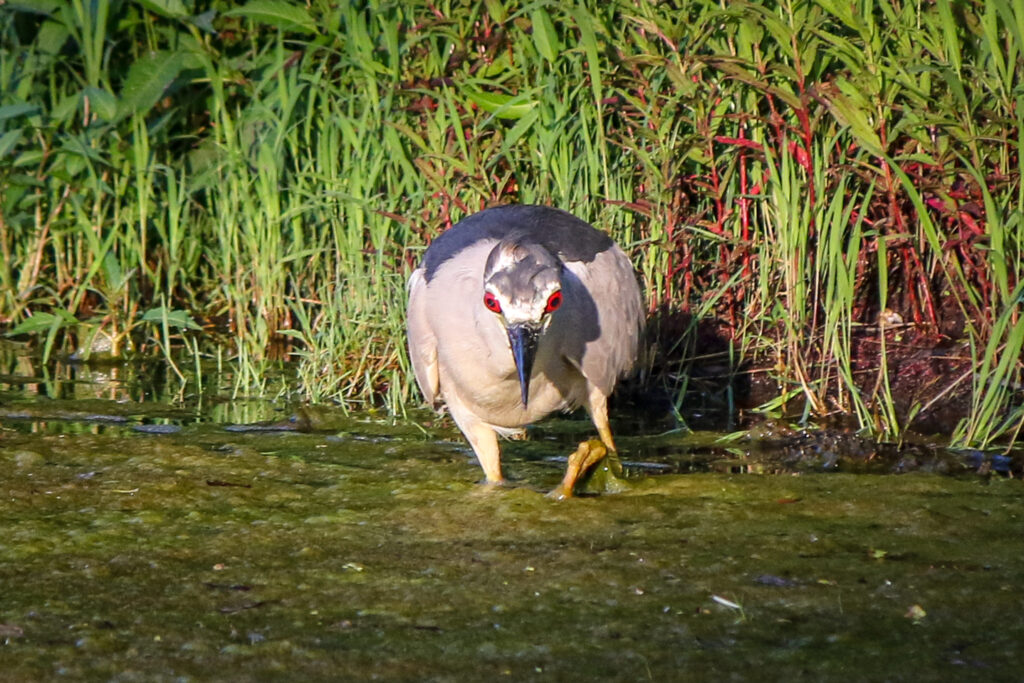
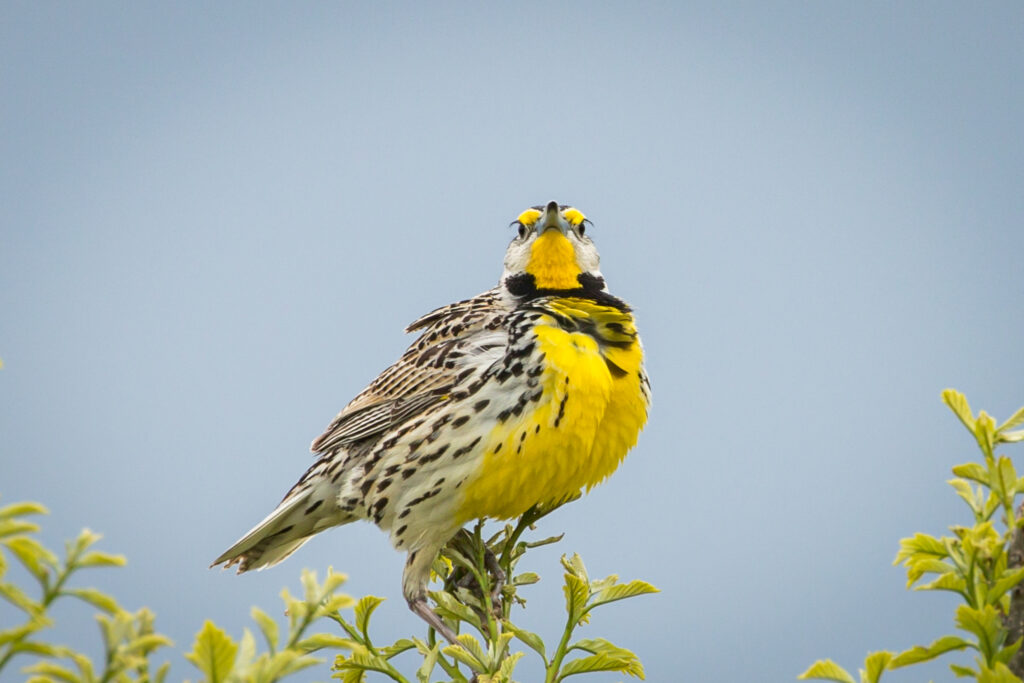
I stated above that straight-on photographs “usually” disappointed me. This is not always the case – the eyes on this Black-crowned Night-heron show as red bulges at sunset, certainly adding interest to the photograph. Below that a Eastern Meadowlark’s eyes and throat are prominently displayed.
Speaking of the eyes, when the angle of the head aligns just right with the angle of the sun a photograph can show a “catchlight” in the bird’s eye. The catchlight is a bright pinpoint of white light on the eye showing the reflection of the sun. I always get excited when one of my bird photographs includes a catchlight – it brings the bird alive for the viewer and increases the quality of the shot. The catchlight looks to me like a spark of life inside the bird shining through. Some photographers, when they have a GreatBirdPic quality photograph and want to increase the quality, will “add” a catchlight to the eye during post-processing (I have no strong opinion about this either way and have done it myself once or twice but I wouldn’t want to submit a photograph with an added catchlight to a bird photography contest).
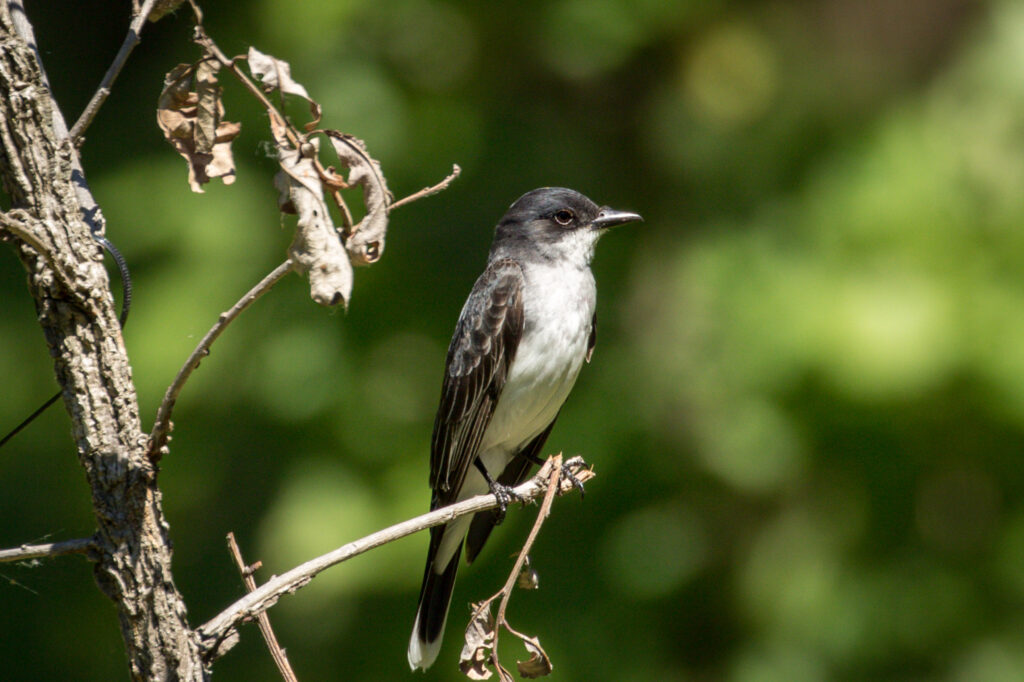
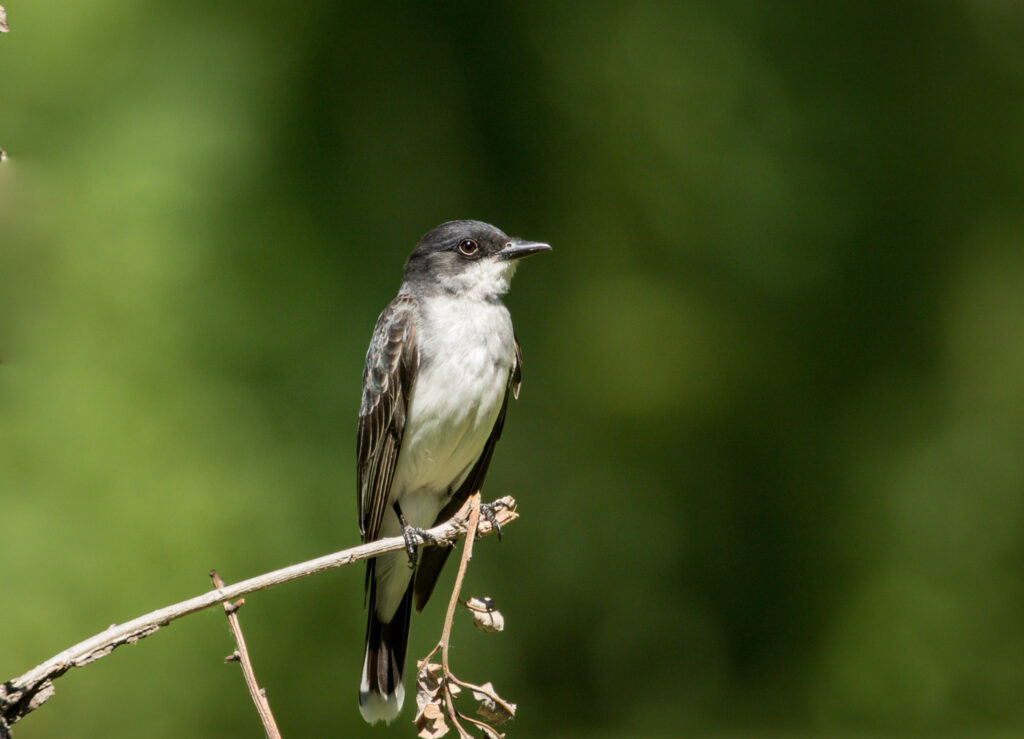
Below are two photographs of an Eastern Kingbird; the first one the head angle does not produce a catchlight and the second does.
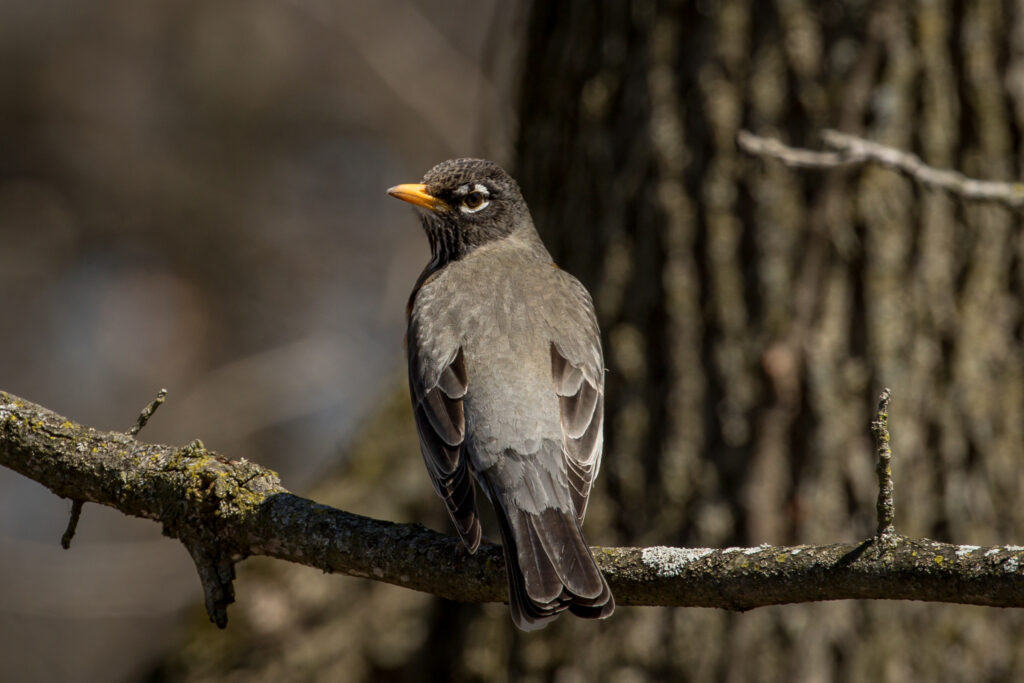
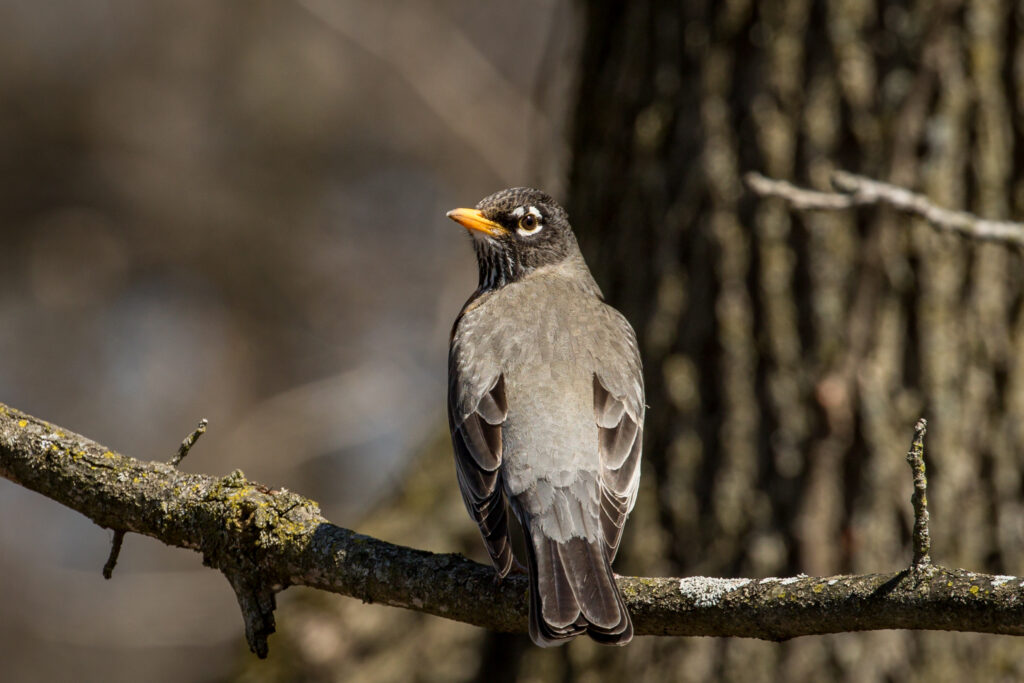
Here’s another pair of photographs to compare. The first pic of the Robin did not include a catchlight and after the bird turned its head a bit more, we can see it.
I rarely get a catchlight in a BIF photograph so I was excited when I caught this Red-tailed Hawk with one.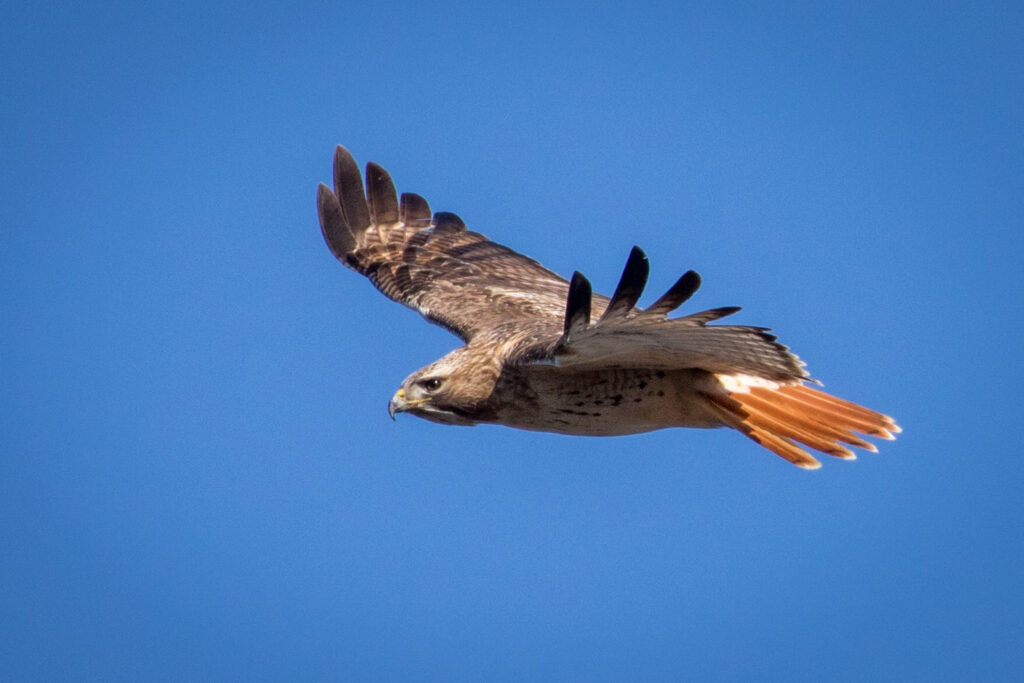
Our final example is of a female Vermilion Flycatcher at dawn with a great catchlight. Although I haven’t researched this, I’ll bet you are more likely to get a catchlight at sunrise or sunset because of the low angle of the sun.
If you’re like me, when the opportunity presents itself, I take lots of shots of a bird and then carefully review the images and select the ones with the most advantageous head angle (usually between 90° and 30°). There are lots of factors that determine the final quality of a bird photograph but if you hold all those other factors constant, the head helps to elevate the quality of your photograph.
The next QSAR Component of the Content Image Characteristic is 9. Body Visibility.
Stay Safe. Go Birding. Take Pics. Share Here. Repeat.
Mike
If you would like to learn more about GreatBirdPics.com CLICK HERE. Members can upload their GreatBirdPics, communicate with other members, and receive regular emails about bird photography.