What’s the Right Exposure Compensation for a Very White Snow Goose?
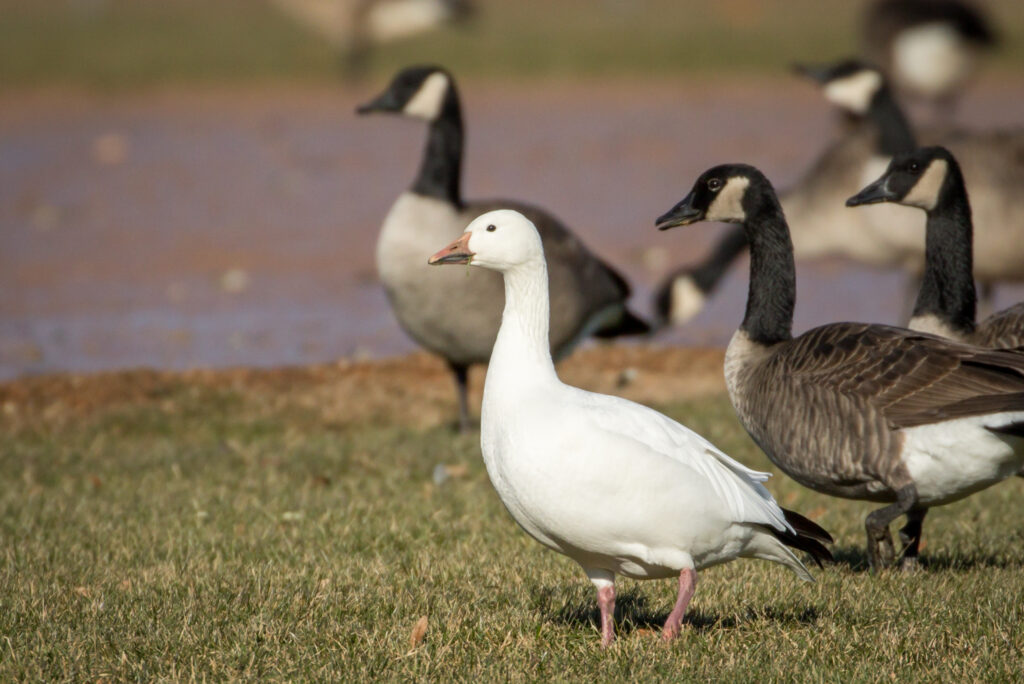
As Karen and I were surveying a couple hundred Canada Geese (still looking for that elusive Cackling Goose) we spotted a Snow Goose! Although the Snow Goose population is actually expanding to the limits of its breeding grounds (see the previous post about the Snow Goose HERE) we rarely get one here in DuPage County, IL so it was a treat to find this one. I had to get some pictures of it.
As I raised my camera I realized that I had a problem – an almost pure-white object (the goose) against a dark background on a bright sunny day. Usually pictures like that come out with blown-out highlights. This means that the white feathers on the bird reflect so much light the camera records a bright white blob in some areas with no detail. I don’t have many opportunities to experiment with all-white birds so I made the most of this one as the goose stayed out in the open fairly close to me.
I took a series of shots, adjusting the Exposure Compensation (EC) after each burst. EC overrides the camera’s automatic exposure setting – if you adjust it to a negative EC the camera allows in less light than normal; a positive EC allows in more light. Thinking if the camera allowed less light the images would be less likely to be overblown, I started taking pictures at – 1 2/3 EC (typically you can adjust the EC from -3 to +3). My thinking was that by limiting the exposure more of the detail in the white would be visible. Below is the unprocessed image I took with the EC set to -1 2/3. Note: for this post clicking on an image will not take you to an Individual page, as none of these images were entered into the database.
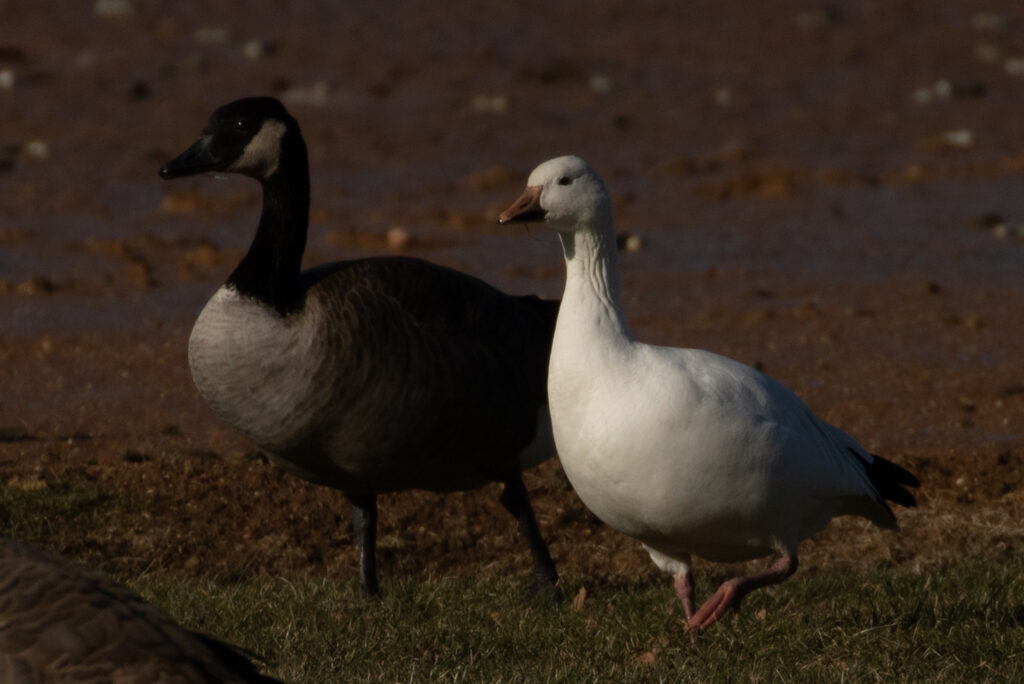
Note how dark the picture above looks because the EC was set so low. I then took that same photograph and used Lightroom to increase the exposure (and adjusted few other settings). The result is below. Note that although the Snow Goose is looking pretty white the neck is so bright any detail there is gone (blown out); also note that the Canada Goose is somewhat dark so I really didn’t increase the Exposure setting enough. When adjusting the Exposure setting in Lightroom, if you increase it too much noise is introduced in the entire image. My takeaway here is that by setting the EC too low, I had to overcompensate it too much in Lightroom, producing an image with blown white highlights for the main subject (Snow Goose) and too dark for the rest of the image.
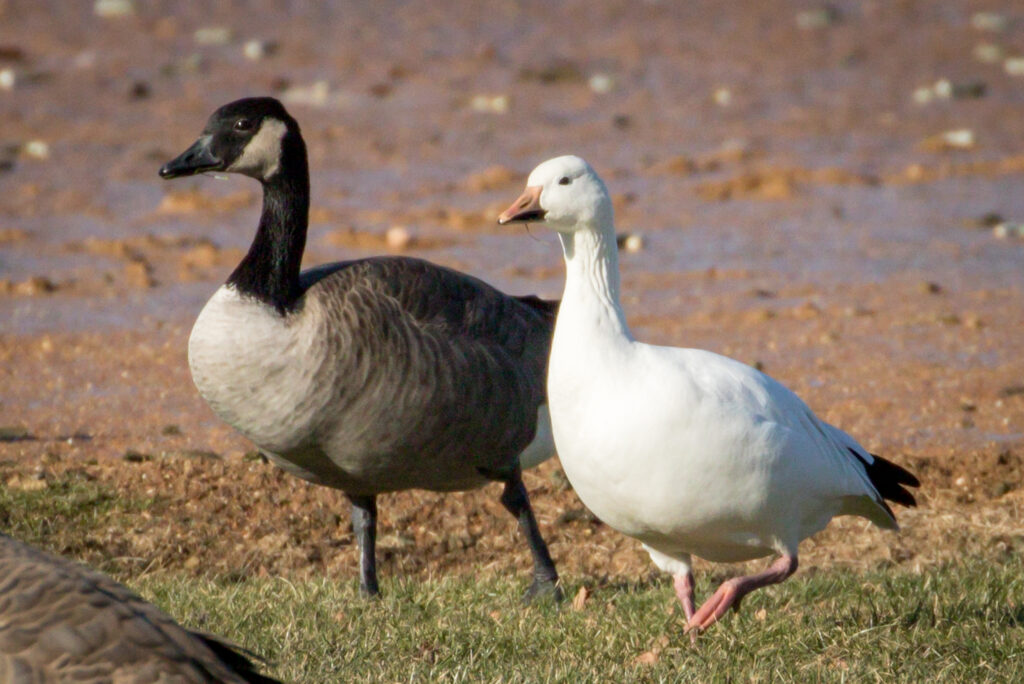
I then adjusted the EC to -1; reduced light but not as low as the previous example. When you look at the first image below you’ll see that overall it is not as dark as the first picture above.

When adjusting this image in Lightroom I did not have to increase the Exposure setting as much. In the adjusted image below note that there is more detail around the neck and wings, but the top of the shoulders is still blown out, obscuring any detail there.
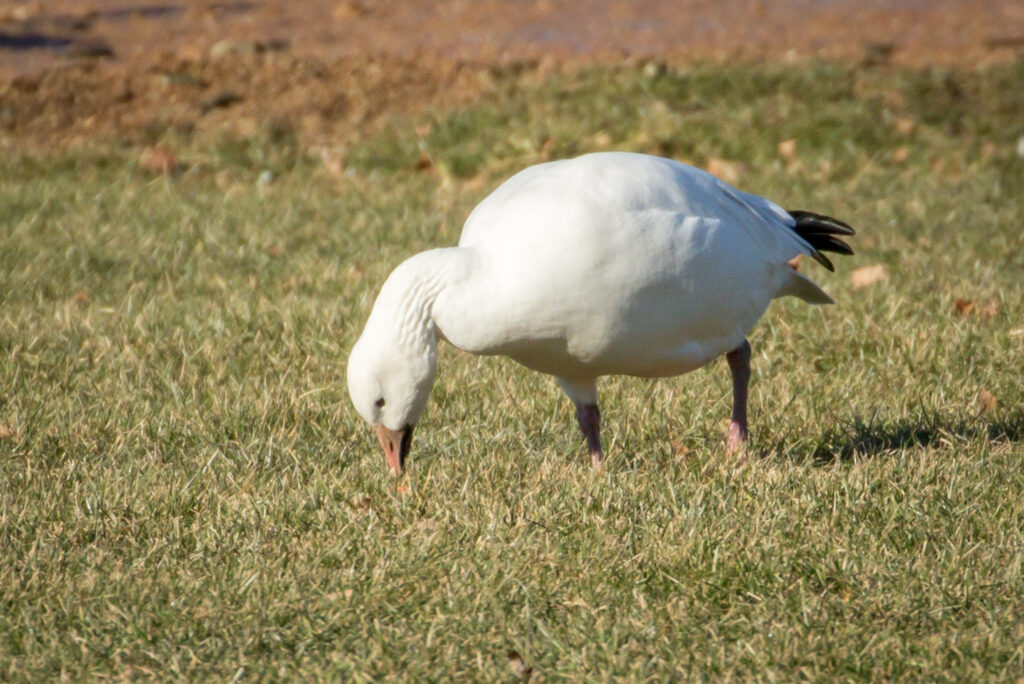
Next, I set the EC to -2/3, which darkens an image just a little bit. Below is the unadjusted Snow Goose image – compare it to images #1 and #3 to see that each image gets progressively lighter.
I didn’t have to increase the Exposure setting in Lightroom very much this time to get the proper lighting. As you look at the adjusted image below you can see more detail in the breast and wings, although there is still some blowout in the shoulder and lower neck regions.
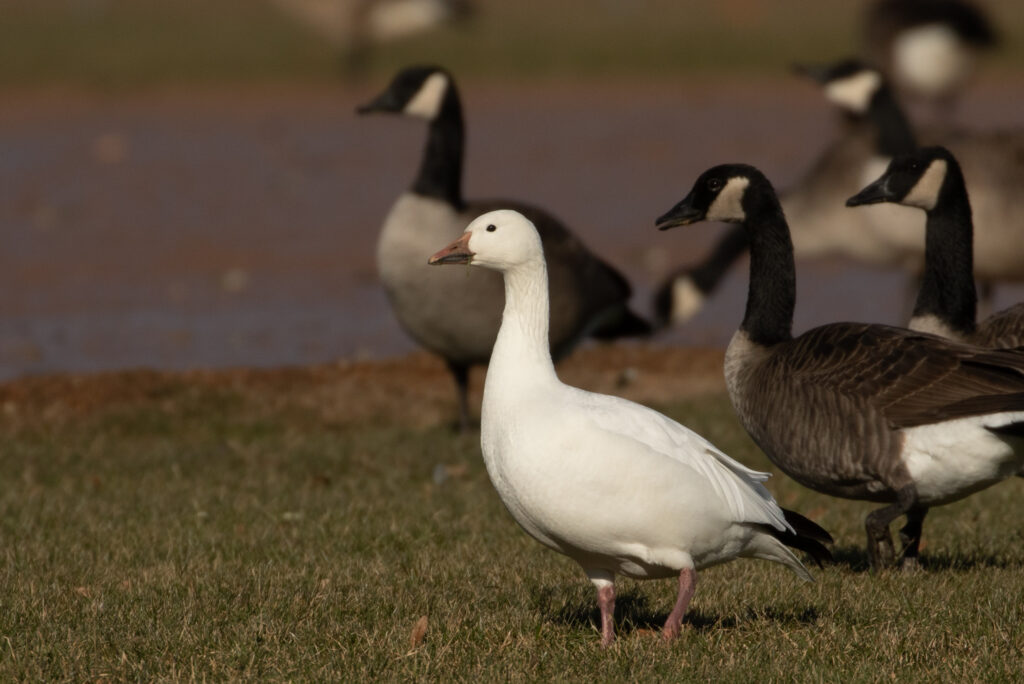
Finally I set the EC to +2/3. Although this seems counterintuitive to add more light to eliminate blowout, the theory is that the camera captures all of the detail with the added light and since you don’t have to artificially increase the Exposure in Lightroom the image retains the detail. Here’s the unadjusted image with an EC of +2/3.
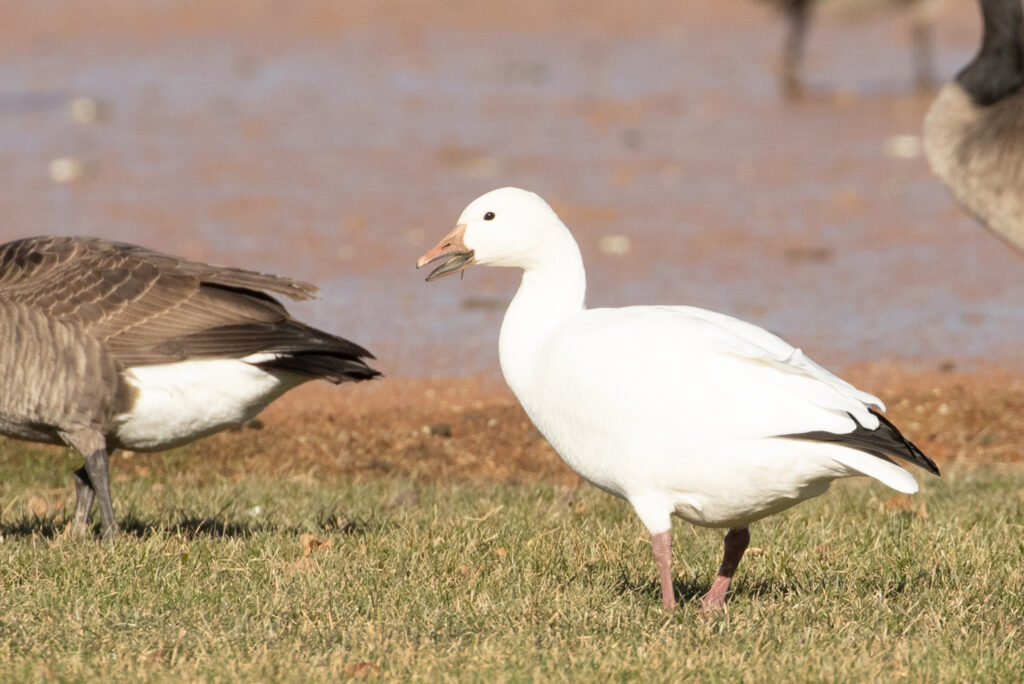
Note how the unadjusted image above looks over-exposed, which is is due to the EC being set to +2/3; it is by far the brightest image of all the unadjusted images. Using Lightroom I then had to reduce the Exposure setting to get the final product.
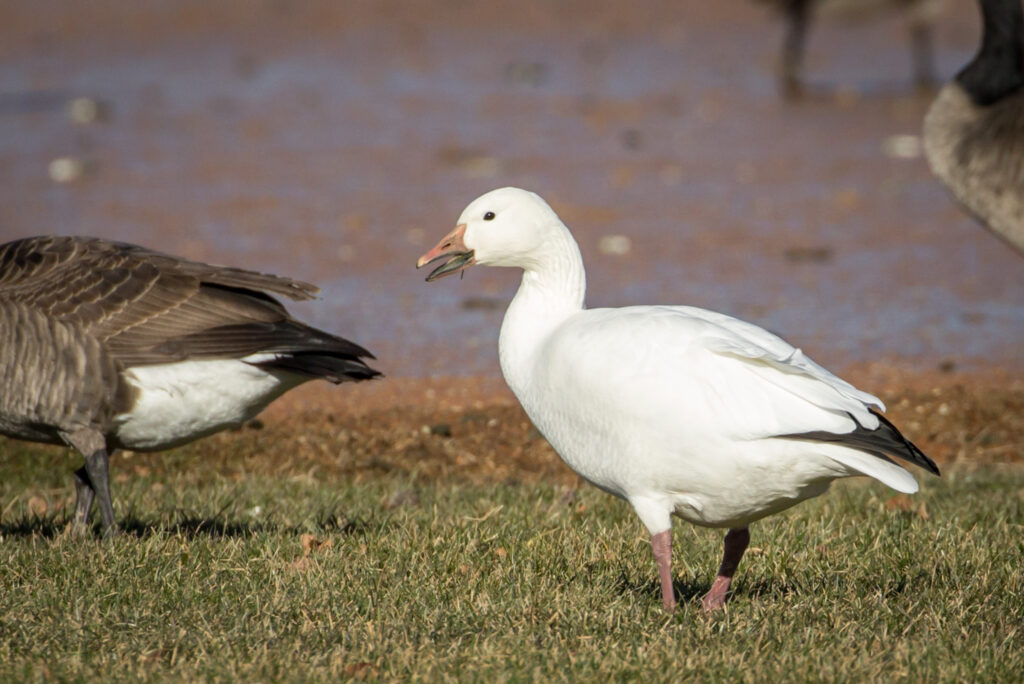
Note all the little details that are now showing in the neck, breast and under-tail. There are no blown-out areas anywhere. By actually allowing in more light initially, the camera also captured all of the detail. The untouched image looks overexposed, but reducing the exposure during post-processing corrects the over-exposure and retains smaller details that were lost when setting the EC too low.
So next time you see a Snow Goose, Swan or other white bird try adjusting your EC. I had the most luck setting it above normal (0) to +2/3 EC. Let me know what you do to eliminate blown highlights in light-colored birds.
Stay Safe. Go Birding. Take Pics. Share Here. Repeat.
Mike
If you’re interesting in learning more about GreatBirdPics.com Click Here. Members can post their own Great Bird Pics, create an online gallery of their works, and receive regular emails about bird photography.