I love taking BIF shots and sometimes I get a shot that can benefit by rotating the crop during post-processing. Here’s an example using a Black Kite I took in South Africa. Notice that in the image below the wings are practically vertical; this is how the image looked when I loaded it into Lightroom. By cropping it to maximize the size of the bird, the wings touch the edges of the frame at the top and bottom. One should always leave some room between the edges and the bird so the composition “fits” nicely within the frame.
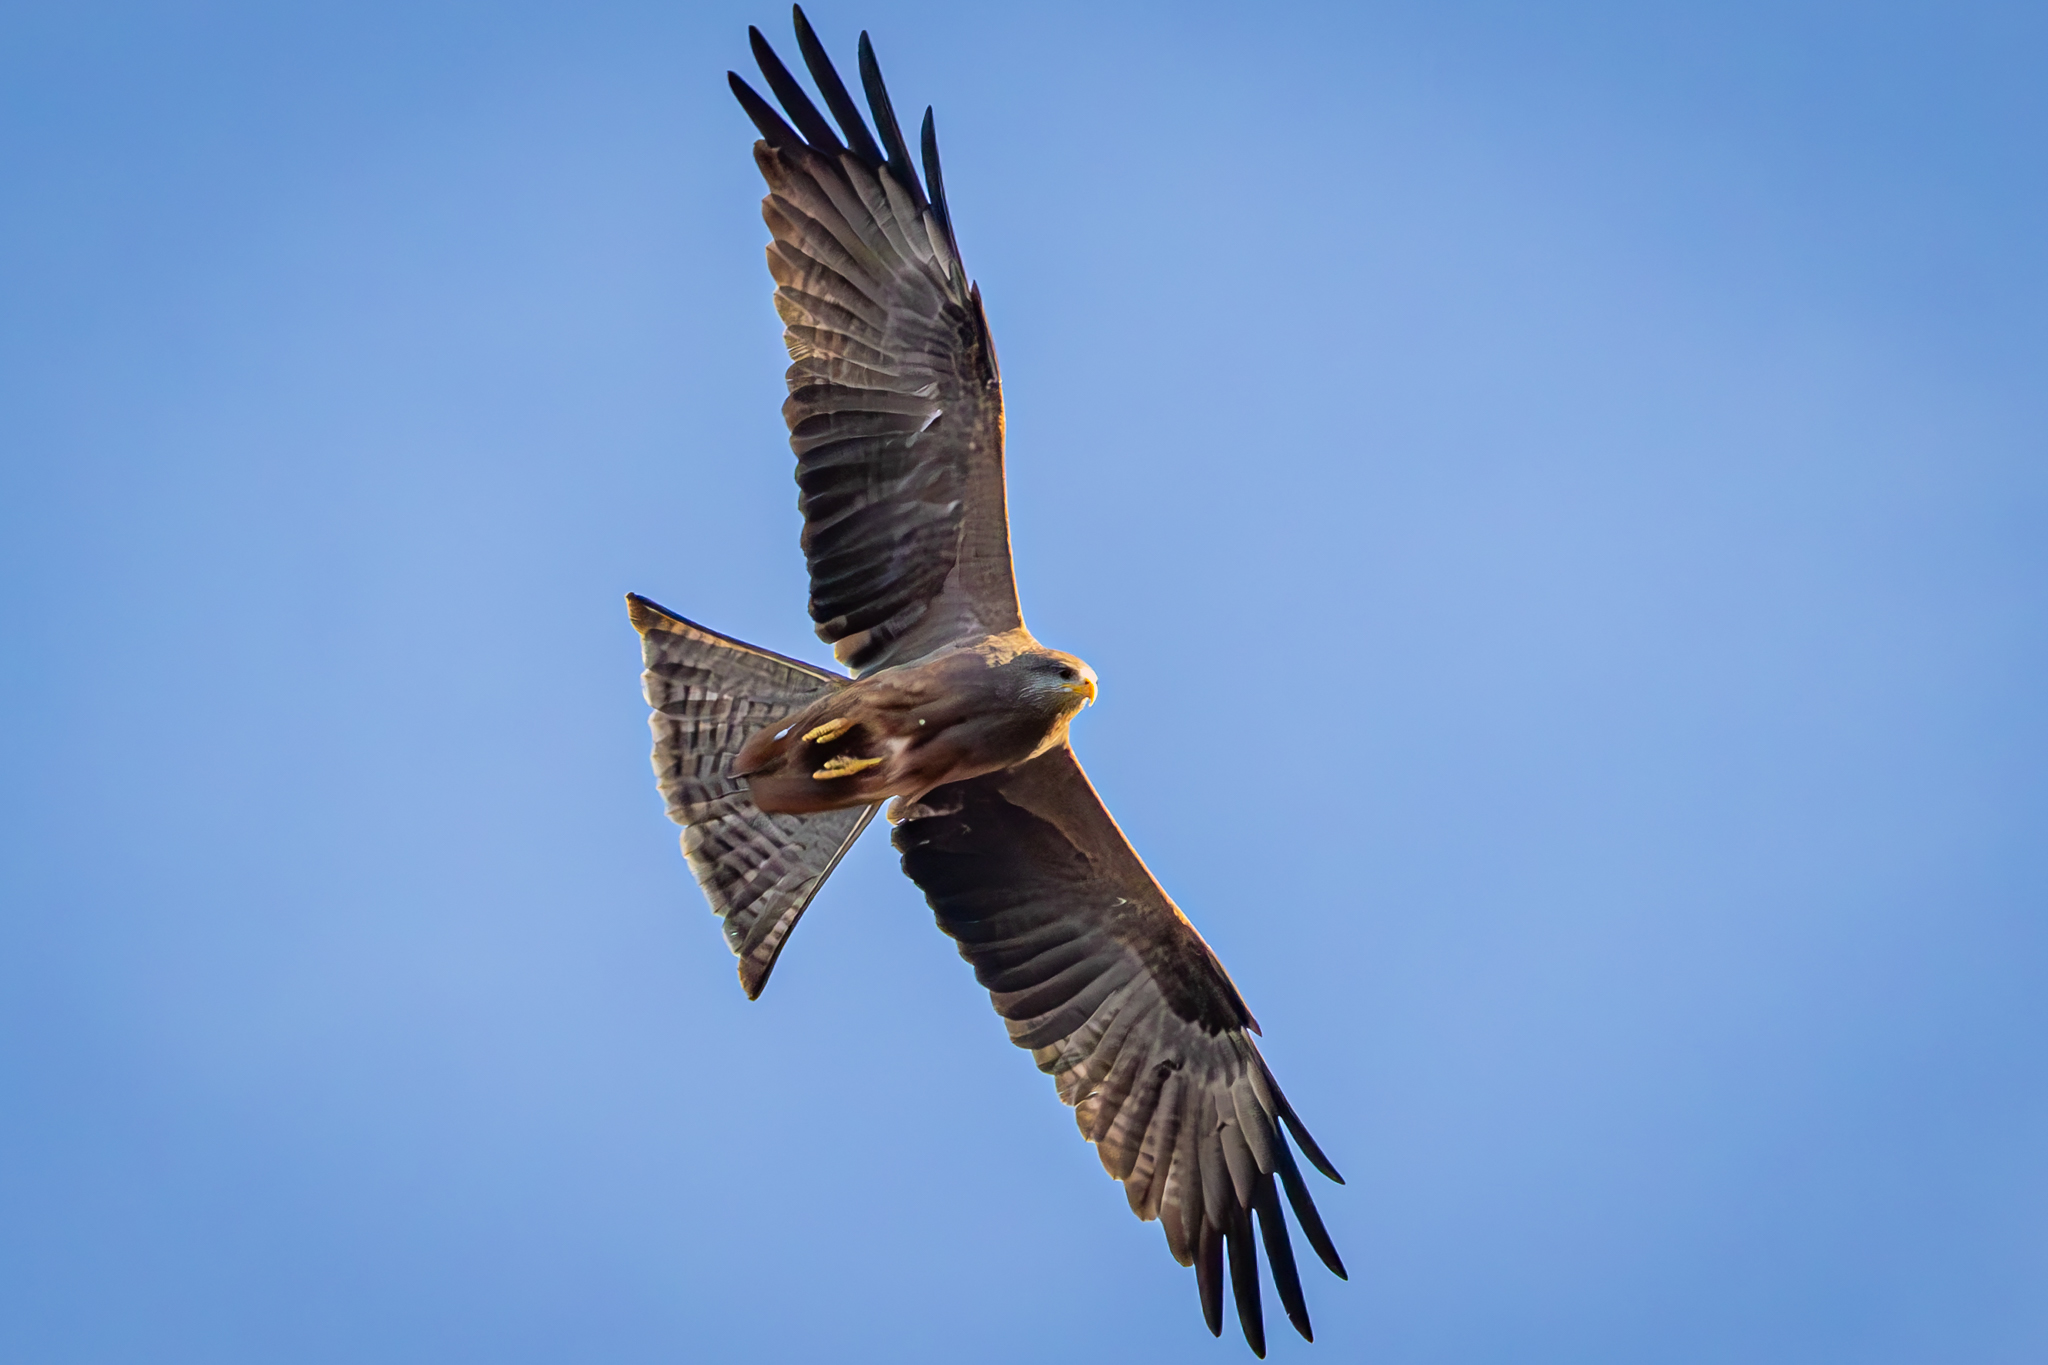
One choice I could have made would have been to widen the crop to give more room at the top and bottom, but that would have reduced the size of the bird within the image.
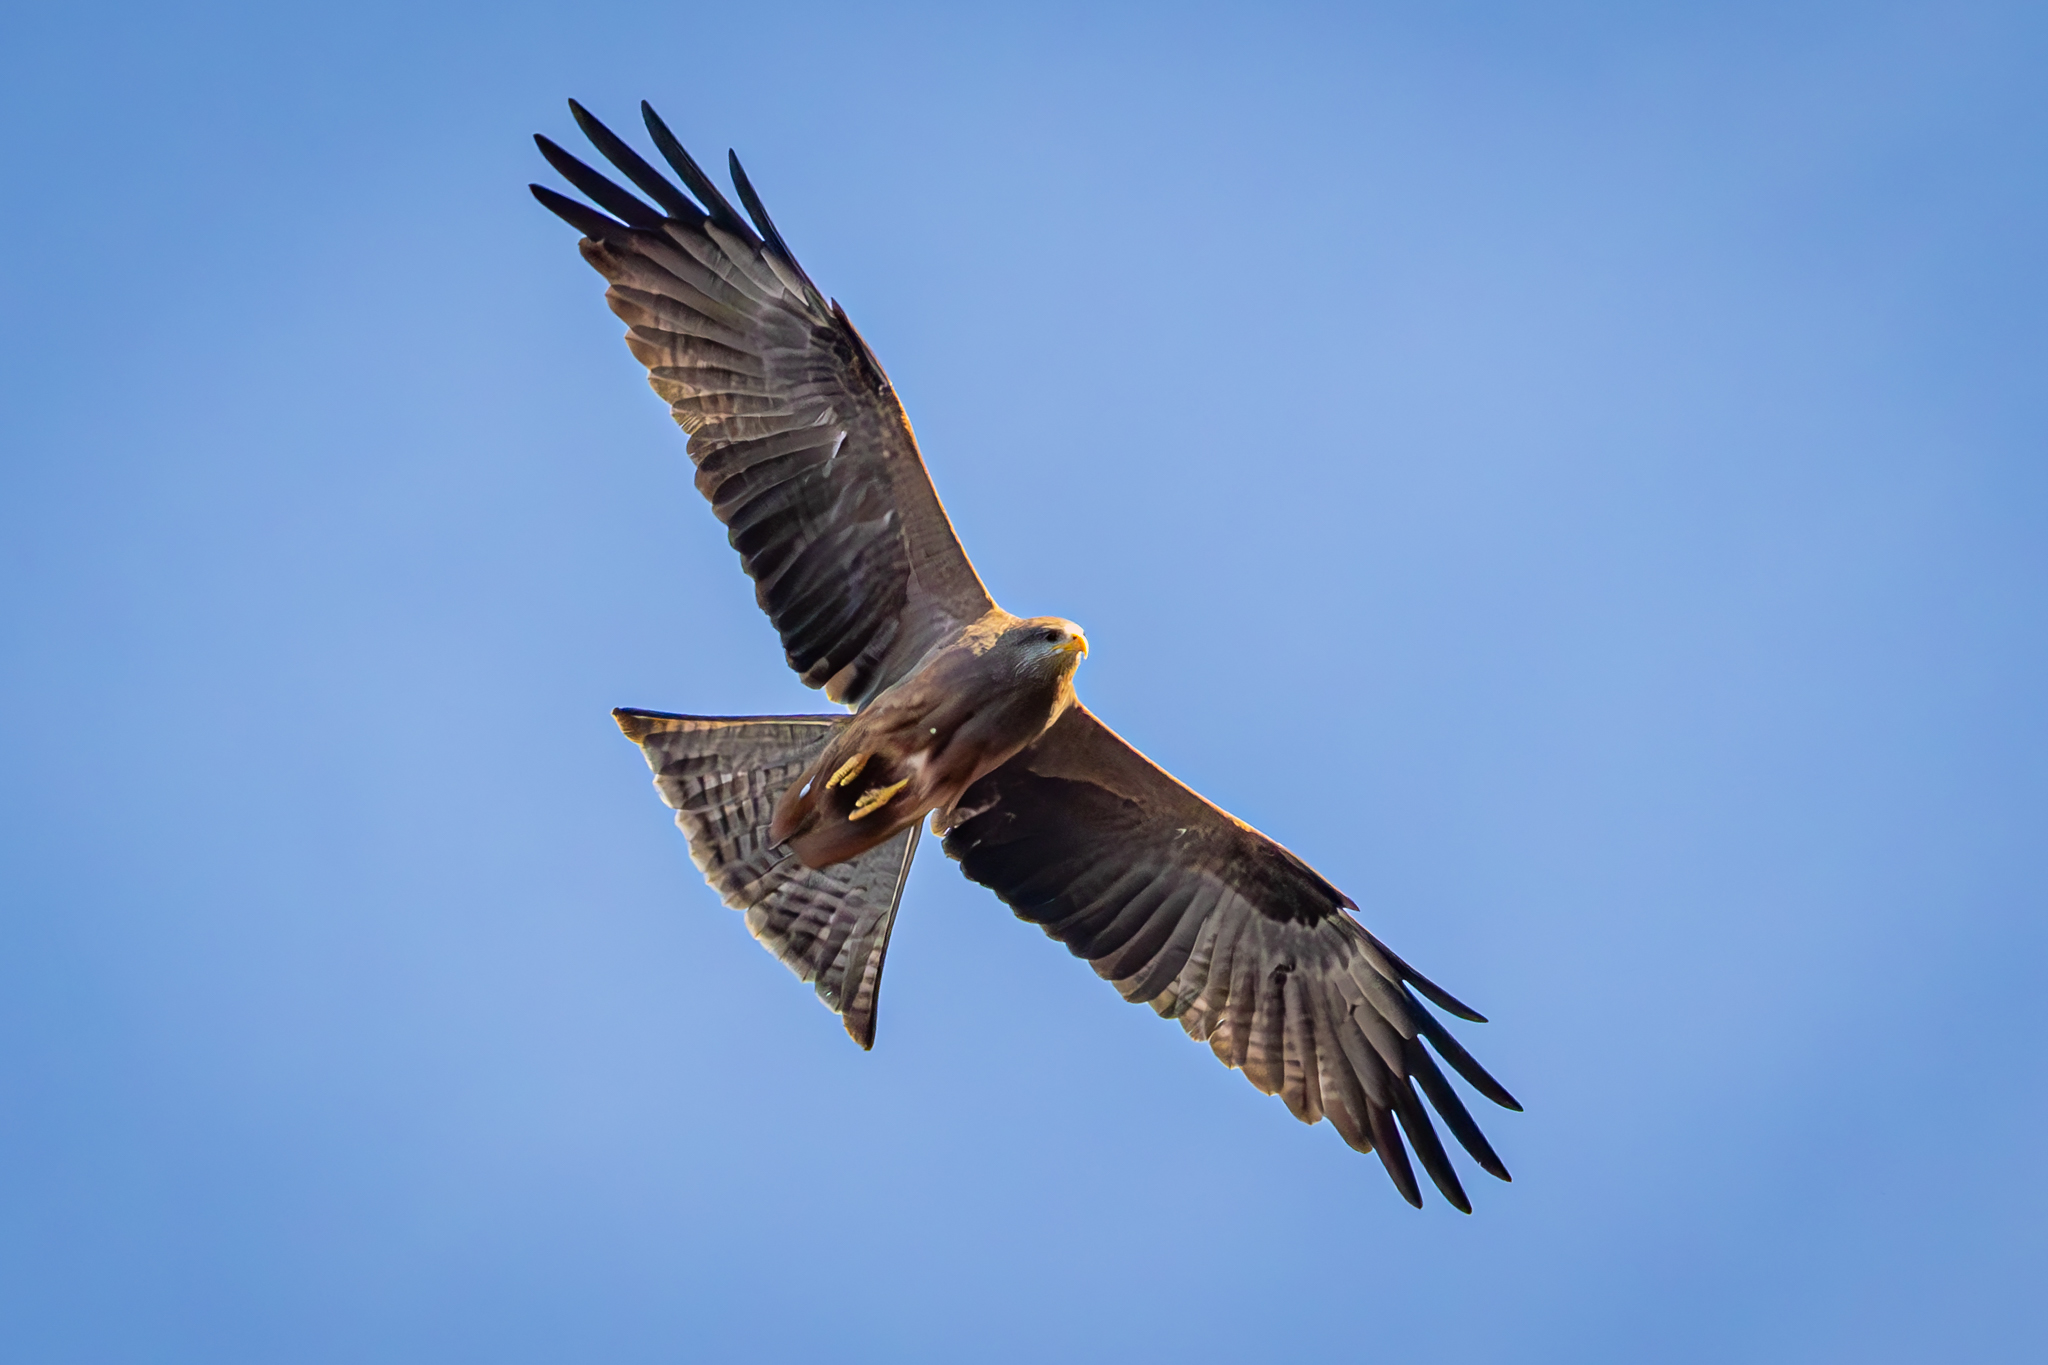
The path I choose was to rotate the angle of the bird during cropping. Below is the same image with the exact same frame size (2460 X 1640) but I rotated the image 20° counter-clockwise. The kite is the exact same size as the first image but the wings are more diagonal than vertical, giving more space between the wingtips and the edge.
Below is a screenshot of Lightroom’s Develop/Crop Module as I cropped the image showing the rotation of the frame (blue) in relation to the workspace (gray).

Of course this wouldn’t work if the bird was near the horizon, as it would show the altered angle. In the air however, such a simple alteration allows the artist perform a tight crop but still leaves ample space all around the bird.
If you enjoy seeing beautiful pictures of birds from around the world and reading about them Click Here to sign up for our mailing list. Members can post their own GreatBirdPics and learn more about bird photography techniques.